The Dead Cells DLC trilogy has come to a close with The Queen and the Sea. If you’ve picked it up, you may be wondering how to unlock it and start it. Featuring new biomes, weapons, and enemies, this bundle of content offers a solid late-game experience. And by solid, we, of course, mean challenging.
As exciting as new Dead Cells updates can be, it’s important to know that you can’t access this new DLC from the start. Like the previously released expansions, Fatal Falls and The Bad Seed, The Queen and the Sea requires that you complete specific actions first. The Dead Cells guide below explains the process in detail.
How to Unlock and Start Dead Cells: The Queen and The Sea DLC
Dead Cells: The Queen and The Sea offers two late-game biomes. Because of this, you won’t be able to immediately dive into these new areas at the beginning of a run as they’re meant to “replace” the game’s final levels. Just making it to the end won’t work either; you’ll have to unlock them by following a specific path.
Step 1: Unlock Flask Room
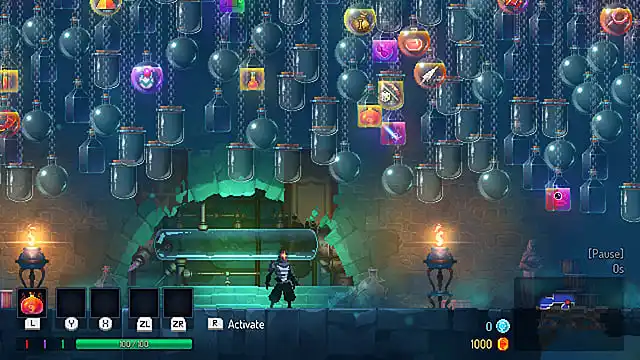
The first thing you need to do to start The Queen and The Sea is unlock the Flask Room. This is the area in the Prisoner’s Quarters that shows off you’re unlocked weapons and other items via floating flasks/bottles. If you’ve been playing Dead Cells for a while, then you’ve already done this step. New players can either play until they unlock this area or purposely die three times to skip the tutorial levels.
Once the Flask Room is unlocked, you’ll be greeted by a tentacle creature holding a scroll. The scroll will direct you to speak with an NPC in the Toxic Sewers level/biome. Leave the Prisoner’s Quarters by way of the Toxic Sewers gate to continue on your path.
Step 2: Talk with the Fisherman

The next thing you’ll need to do is find the Fisherman NPC. Longtime players will recognize him as a character from the Early Access version of Dead Cells. He can be found in a room somewhere in the Toxic Sewers; due to the random nature of the game, it’s impossible to say which room. Just make sure to find him before leaving this area.
Once you’ve found the Fisherman, he’ll explain that he needs your help to leave the island. He explains that another character (named Michel) is holding a key/the means to reach his boat. The next step is heading to Stilt Village.
Step 3: Acquire the Crowned Key

From the Toxic Sewers, you’ll want to go to the Ramparts exit gate. From there, exit through the Black Bridge level and defeat the boss. After that, take the exit to Stilt Village.
Just like with the Fisherman, look for the room where Michel resides; the door leading there is randomized. That said, you’re given a clue via the doorways. The ones marked with a key contain keys while others are marked with loot contain loot. The door you’re looking for is unmarked (no key or loot symbol).
Before entering, make sure you’re prepared to fight as you’ll be attacked by an Armored Shrimp. Defeat him to unlock the Leghugger – an evolving pet that bites enemies – and the Crowned Key from Michel’s dead body. From there, just complete the Stilt Village level like normal as you head to the Clock Tower.
Step 4. Unlock the Door to the Infested Shipwreck
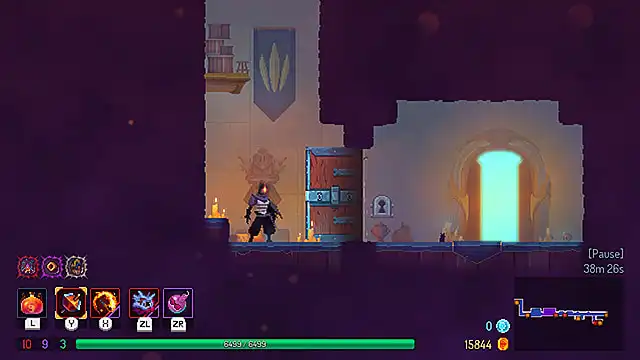
After leaving the Clock Tower and dispatching the Clock Room boss, you’ll head into the normal hub area between levels. This part is important: Make sure not to go to High Peak Castle or Derelict Distillery. Doing so will force you to redo several steps/start a new run.
Instead, head to the bottom of the map and look for a locked door. Use the Crowned Key you got from Stilt Village and head to a new outside area. From there, make your way down to the Fisherman who’s been waiting on his boat. Jump on and catch a ride to The Queen and The Sea’s first level, The Infested Shipwreck.
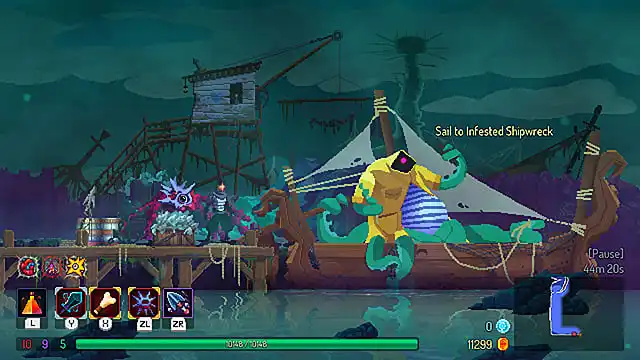
And there you have it: how to unlock and start The Queen and The Sea DLC for Dead Cells. You’re now able to play through Dead Cells newest levels. Don’t worry if you don’t complete them on your first try. You only have to go through this process once; the door leading to the Fisherman’s boat will remain open from now on. For more Dead Cells tips, head over to our hub page!




Published: Jan 4, 2022 04:47 pm