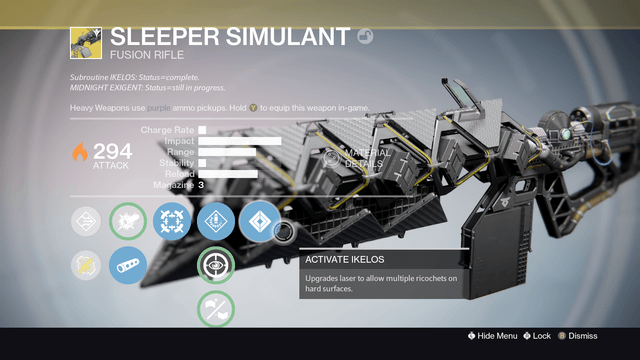
The Sleeper Simulant is the most sought after exotic weapon in Destiny: The Taken King. Nobody knew how to get it or what steps were required, until now. The search is over, and you can finally get the gun.
I’ll help you start your search by explaining the quests and what you need to start them. If you are looking for more help with Destiny: The Taken King, visit by Beginner Tips and Tricks.
This guide will go over getting the Sleeper Simulant Exotic weapon including:
- The First Firewall – The first quest for the Sleeper Simulant and how to get it.
- Curious Transceiver Codes – The input needed to complete this mission item.
- Shadow Call – The second mission and what you need to do.
- Ikelos Fusion Core Requirements – What you need to complete the core.
- Fallen S.A.B.E.R. Strike – The special version of this strike and getting the Sleeper Simulant!
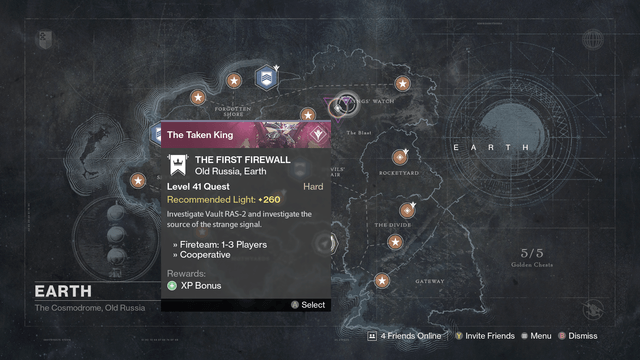
The First Firewall
This mission was not available until today, October 7th, 2015.
- The only known requirement is to pick up at least one of the gunsmith relics.
- They look like legendary engrams when they drop and have a fusion rifle icon.
- They start with DVALIN and end with a number. There are 4 total.
- They drop randomly from any enemy at any time and place.
People have reported the mission being available without getting all 4. There is no way to check how many you have, so if you have at least one, you should get the quest.
The mission requires you to go to a bunker on Earth and kill the Hive and Taken Knights. The order they stand in gives you the code needed for the quest item, more on that later.
When you finish the mission, you get a mission item called, “Curious Transceiver.”
Curious Transceiver Codes
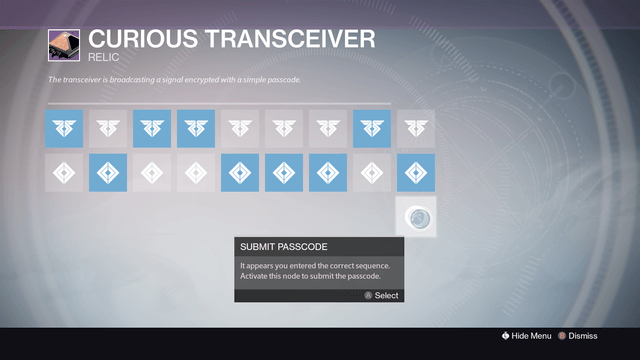
This item goes to you mission slot, and if you hover over it, you get the option for input by pressing Y/Triangle. A screen comes up with 2 rows, each column you can pick either the top or bottom row.
The order the knights stood in when they spawned in The First Firewall mission are the codes. There are 4 you need to input before moving on to the next mission. Below is the order, where Top/Hive=0 and Bottom/Taken=1. Credit to kiki_strumm3r on reddit for the code. You’ll know you got it right when you see and extra option come that says, “Submit Passcode.”
- 010011101
- 01001100
- 0111011100
- 01010100
After you put all 4 codes in, another mission called, “Shadow Call” opens on Earth.
Shadow Call
This is the same area as the Cayde’s Stash mission. You have a short time to make it to the top, open the chest, and kill 3 wizards. If you don’t make it in time or die, you must start all over.
When you complete the mission, you get an exotic mission item called Ikelos Fusion Core.
Ikelos Fusion Core Requirements
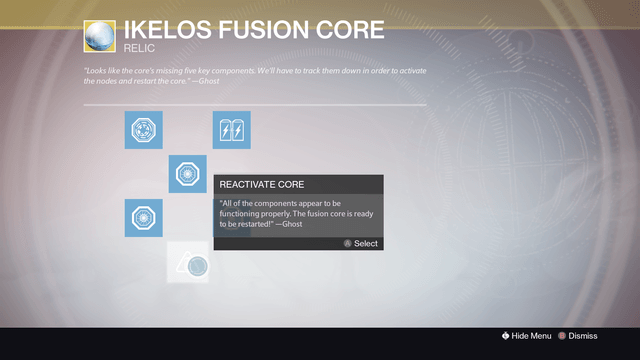
When you inspect the fusion core, you’ll see 5 nodes. They each give clues to what you need to fill each node.
Each time you complete one of these objectives, you get an item. Inspect the fusion core then select the correct node to fill it in. Below is the list of requirements.
- Complete the mission, “The Archive” on Venus. This can be any difficulty.
- Dismantle a Heavy Weapon that is legendary or higher. You must wait until you have the Ikelos Fusion Core before dismantling.
- Complete a “Defend the Warsat” public event on Earth.
- Complete a “Defend the Warsat” public event on the Moon.
- Complete a “Defend the Warsat” public event on Mars.
After you fill in all 5 nodes, a final node opens up at the bottom that says, “Reactivate Core”.
- Select this to get the Reassembled Ikelos Fusion Core.
- Turn it into the Gunsmith, Banshee-44.
Fallen S.A.B.E.R. Strike
After turning in the Reassembled Ikelos Fusion Core, wait for the next daily reset to get the final quest, The Sleeper Stirs. This requires you to do a special level 41, 280 light version of the Fallen S.A.B.E.R. strike. When you complete it you get the Sleeper Simulant Weapon Frame.
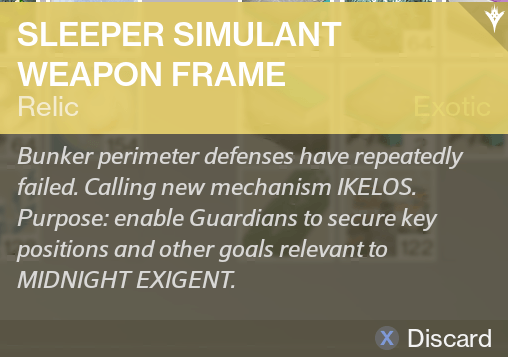
Turn in the weapon frame to the gunsmith to finally get your Sleeper Simulant!
That is all for my guide on how to get the Sleeper Simulant. Let me know if you have any questions!



Published: Oct 7, 2015 06:21 am