Deathroot is a Key Item in Elden Ring, tradable to Gurranq, the Beast Clergyman for bestial Incantations. However, Deathroot is not easy to come by, hidden behind world and dungeon boss fights scattered across the Lands Between.
You won’t be able to collect all the Deathroot in Elden Ring without completing almost the entire game, and you’ll need to find some of the hidden content to get your hands on every Deathroot piece. The Incantations you receive from Gurranq are well worth it, as they are effective in both PvE and PvP.
In this Elden Ring guide, we’ll cover where you can find every piece of Deathroot and the rewards for turning them all in.
How to Find Deathroot and Complete Gurranq’s Questline in Elden Ring
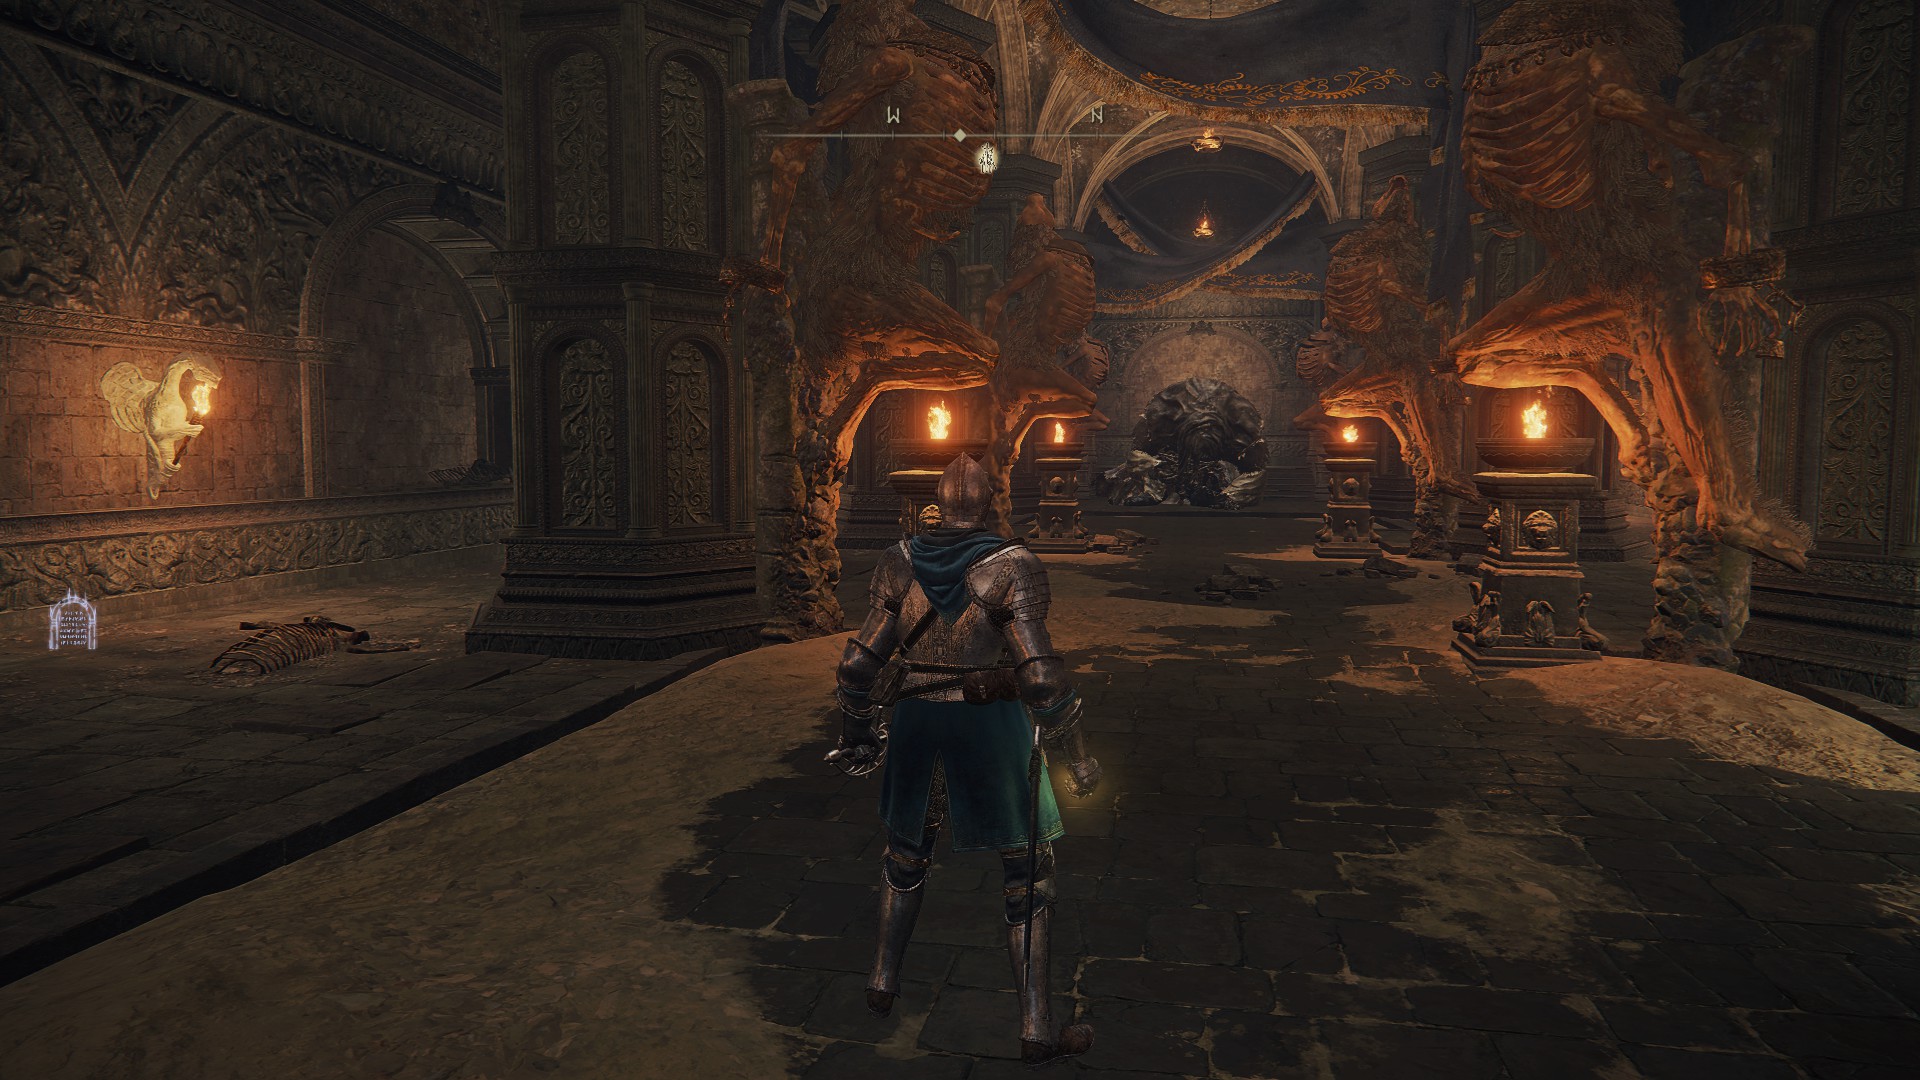
Before you start your quest to collect Deathroot, it would be wise to meet Gurranq in the far eastern portion of Caelid, the Bestial Sanctum.
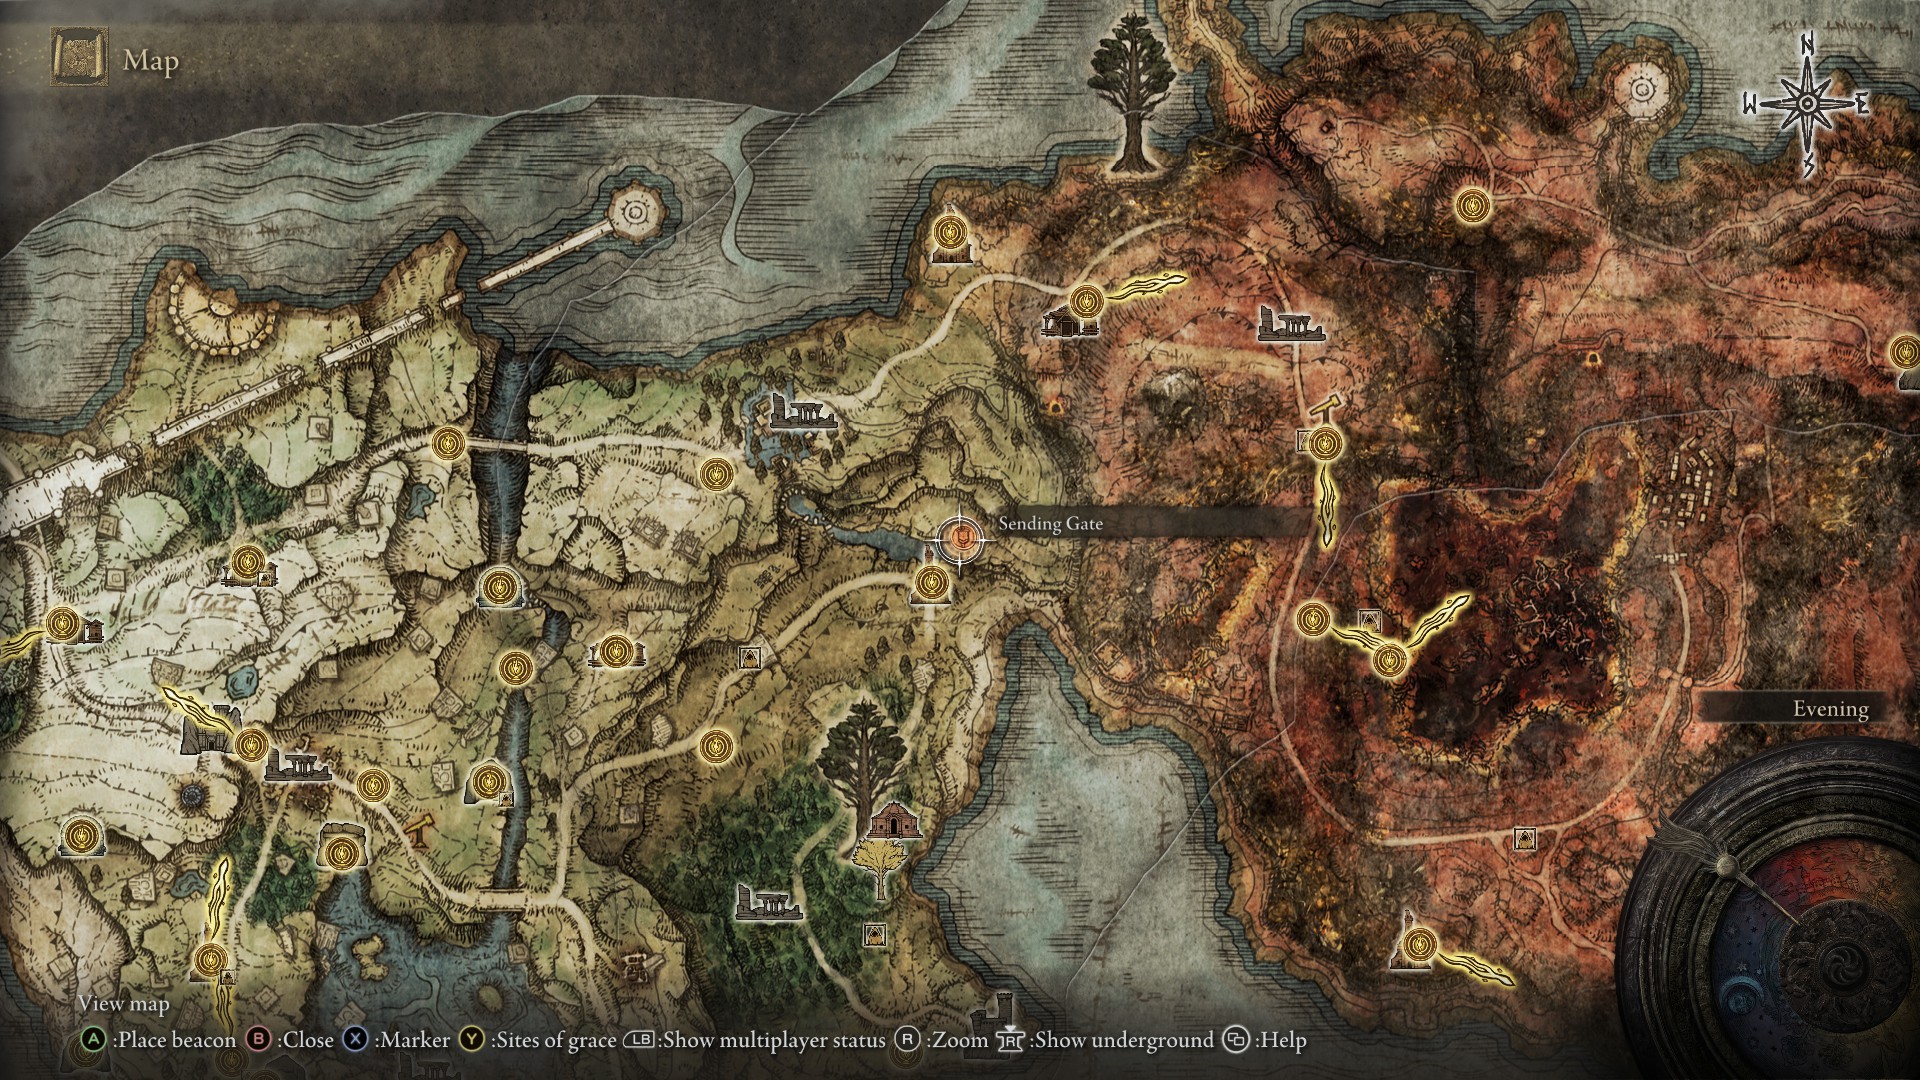
You can either wait until you’ve weeded a single Deathroot and meet D, Hunter of the Dead at the Roundtable Hold, or you can go to the portal gate to the Sanctum on your own. It’s nestled in some bushes in a nook near the Third Church of Marika north of the Mistwood Minor Erdtree. You could also go to northeastern Caelid directly, but using the portal is highly recommended.
You don’t need to meet D to access the portal, so pick it up and grab the Sanctum Site of Grace for easy access later.
With Gurranq on your map now, your primary source of Deathroot will be from the Tibia Mariners, ghostly boatsmen floating on purple water. There are four Mariners in Elden Ring, each at the following locations.
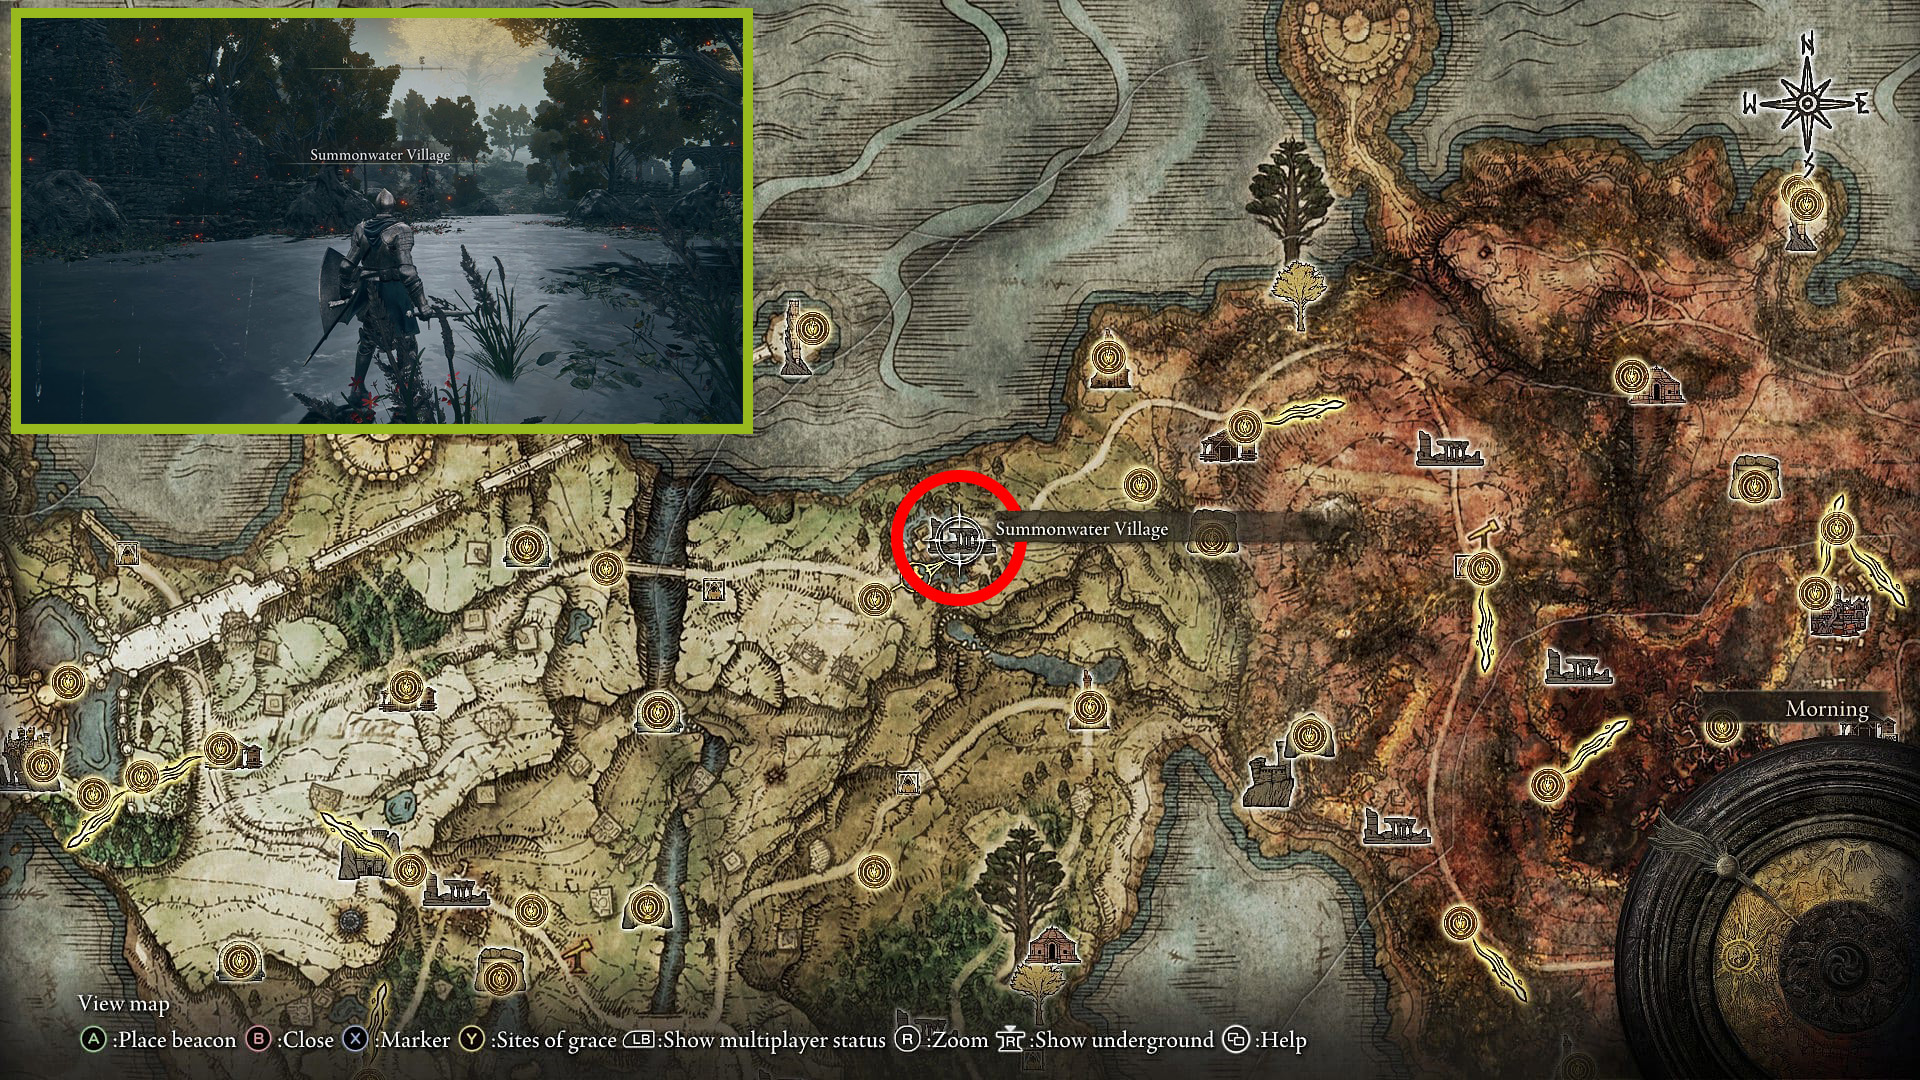
Deathroot 1 Location: Tibia Mariner at Summonwater Village
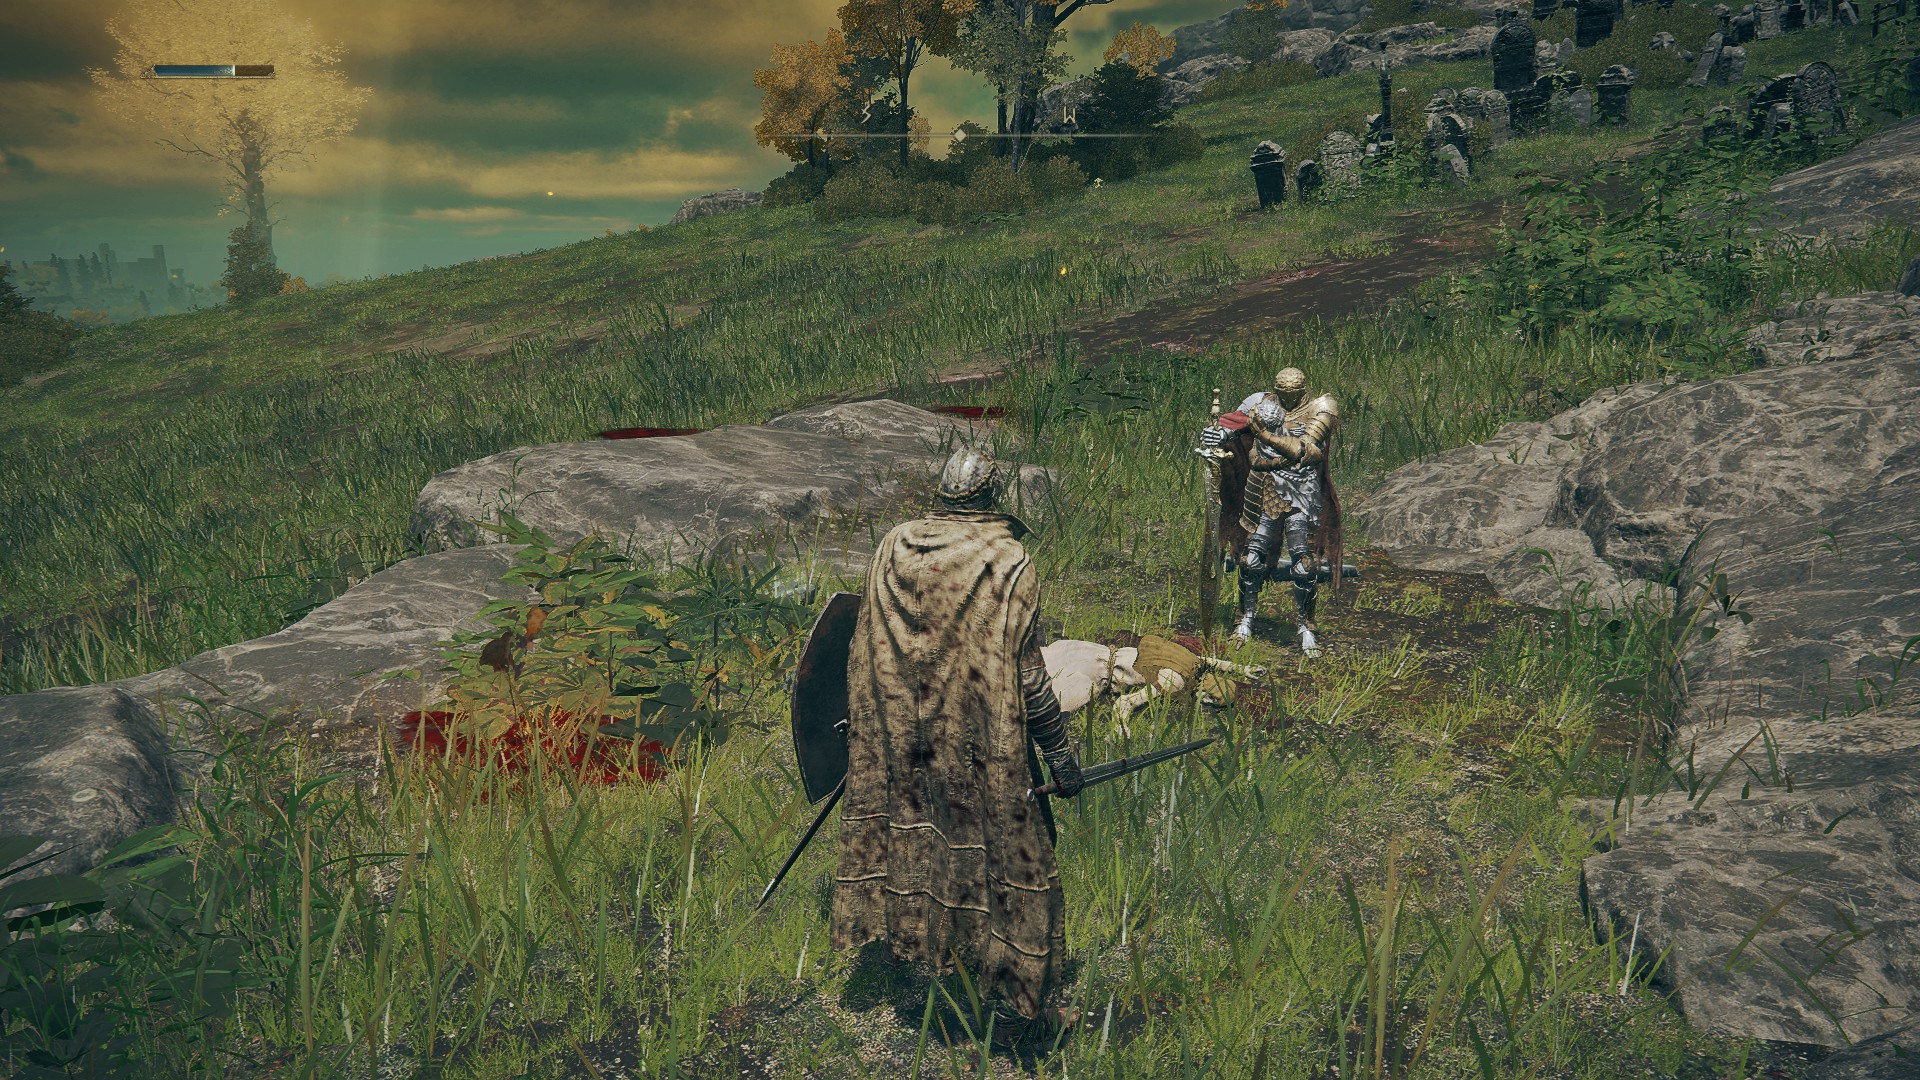
Your likely introduction to Deathroot and Tibia Mariners is in Summonwater Village, and you don’t have to go far to meet the one in Limgrave. Pass through Stormgate Ruins and head east. You’ll pass by D, Hunter of the Dead on the left of the path from Saintsbridge, who’ll warn you against facing the creature ahead.
Ignore him and continue east until you reach a waterlogged ruin. The Mariner will be rowing about and teleport away when you get too close. Defeat it, and the skeletons it spawns in will also die, giving you a Deathroot as a reward.
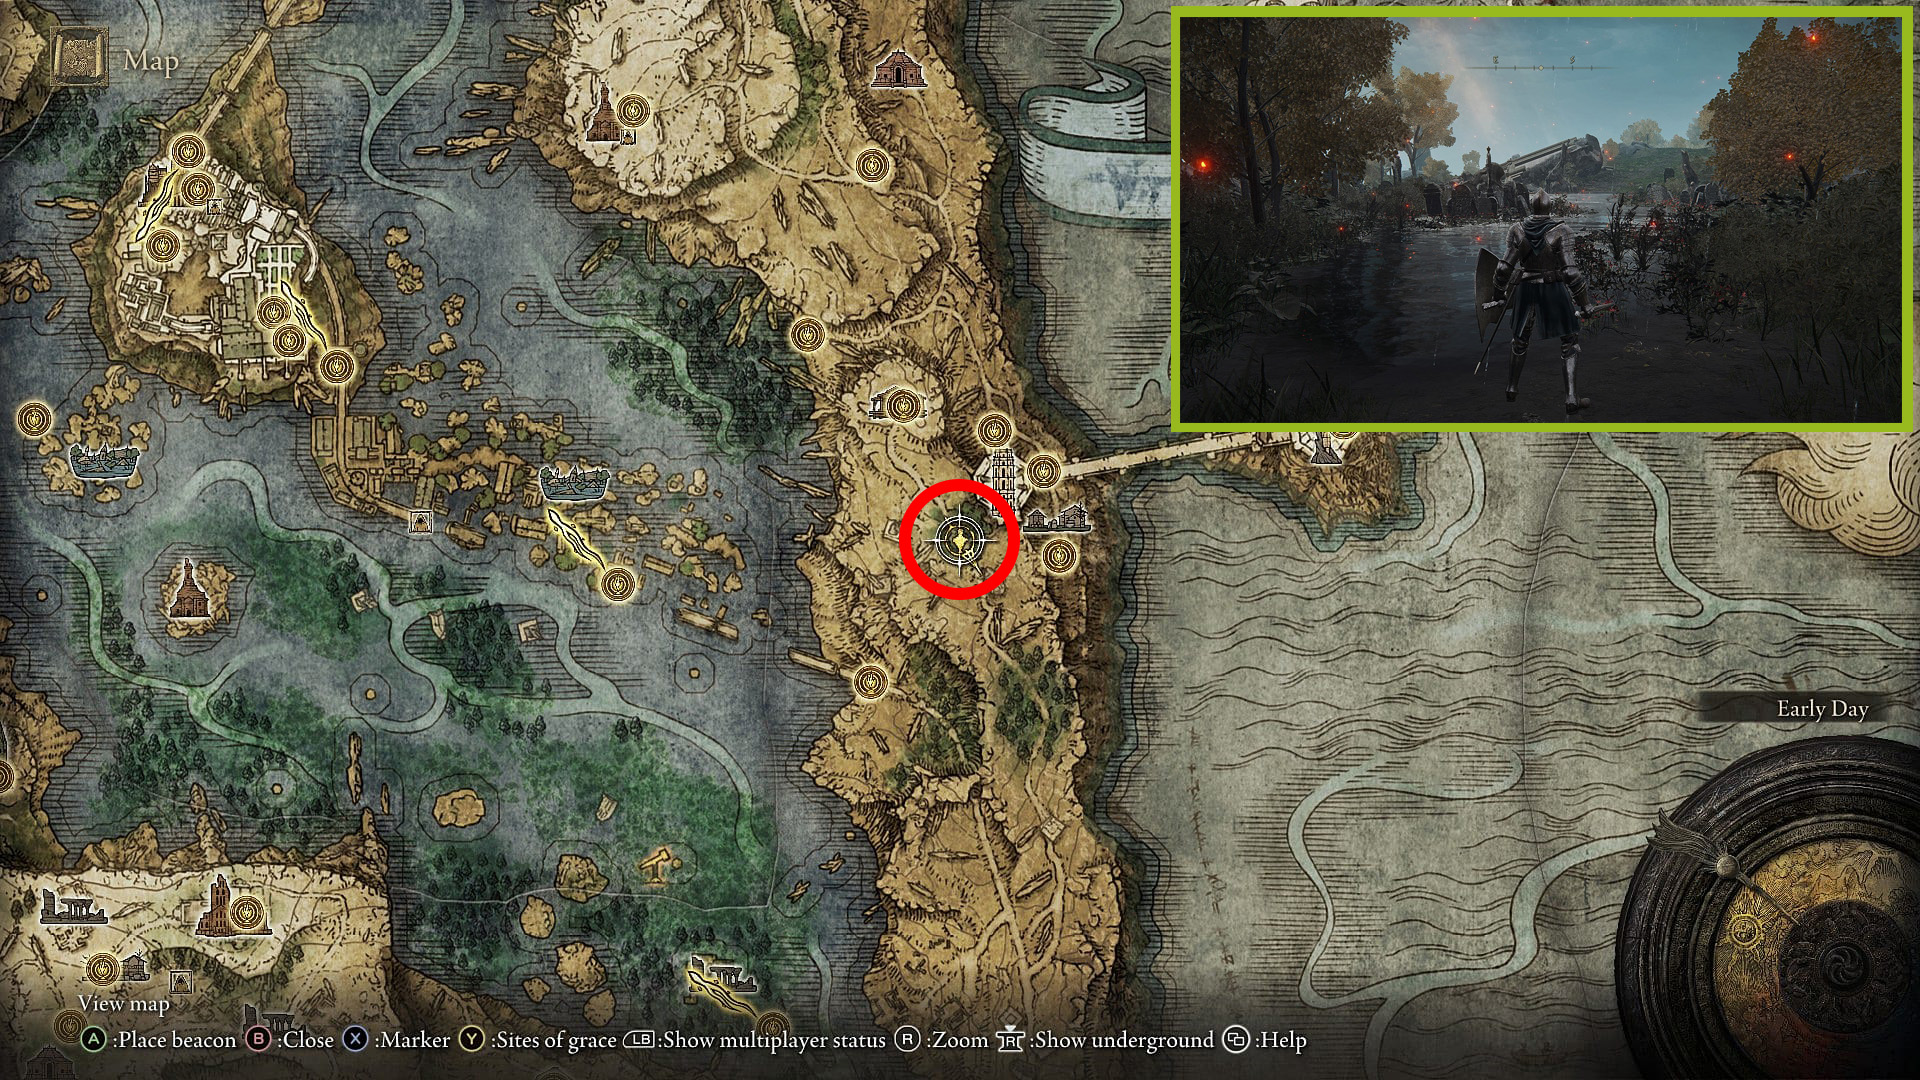
Deathroot 2 Location: Tibia Mariner South of Divine Tower of Liurnia
Travel either north from the southeastern shore, near where you enter Liurnia of the Lakes, or south/southeast from the Artists Shack near the Carian Study Hall (Divine Tower).
There’s a small wooded area near the Study Hall building where a Mariner floats about. Defeat it for another Deathroot.
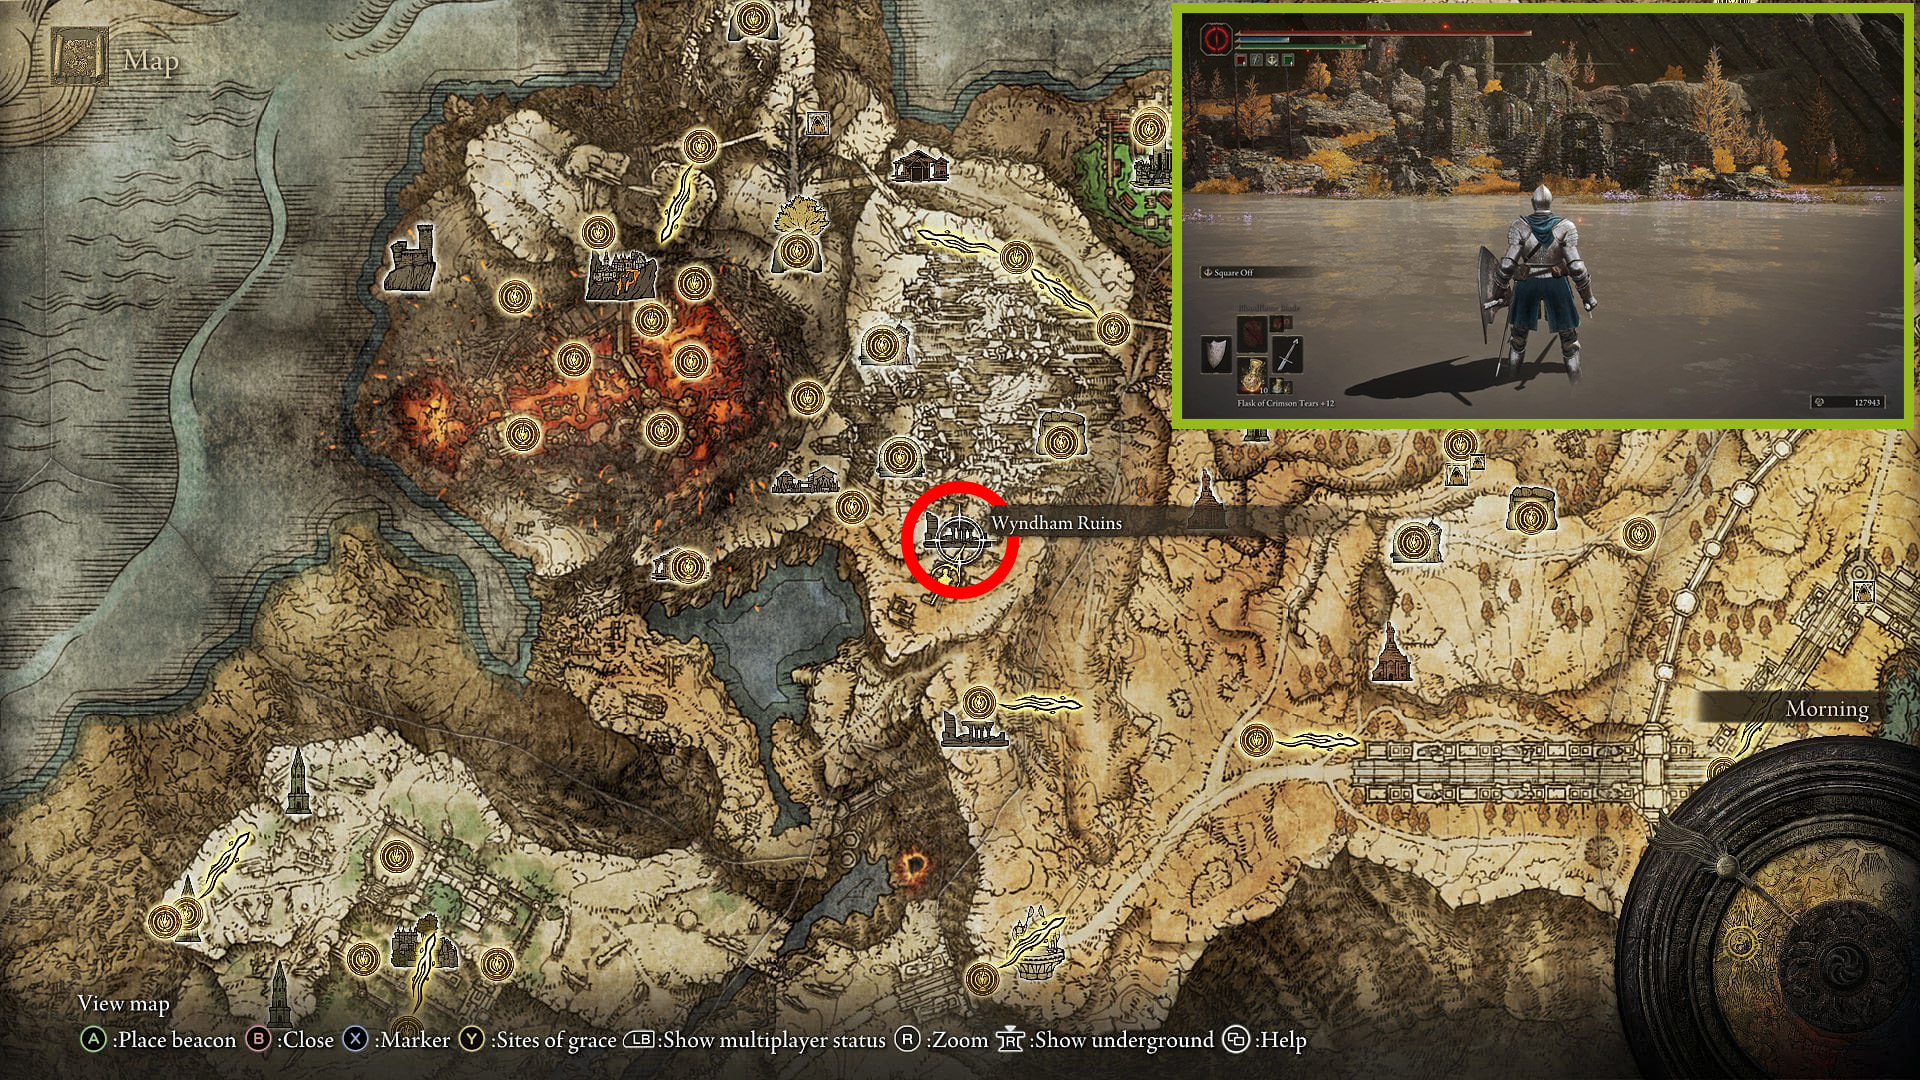
Deathroot 3 Location: Tibia Mariner at The Wyndham Ruins in Altus Plateau
On a hill north of the Grand lift of Dectus and the exit of the Makar, Magma Wyrm caves are the Wyndham Ruins. The Ruins are just northwest of the Erdtree-Gazing Hill Site of Grace near the Lux Ruins.
You’ll see the Tibia Mariner just south of the jutting rocks of Mt. Gelmir. There’s a path to their south leading up from the Lux Ruins.
The Mariner is easy to see, as it’s on the eastern side of the ruins, floating about in the water. Again, defeat it for another Deathroot.
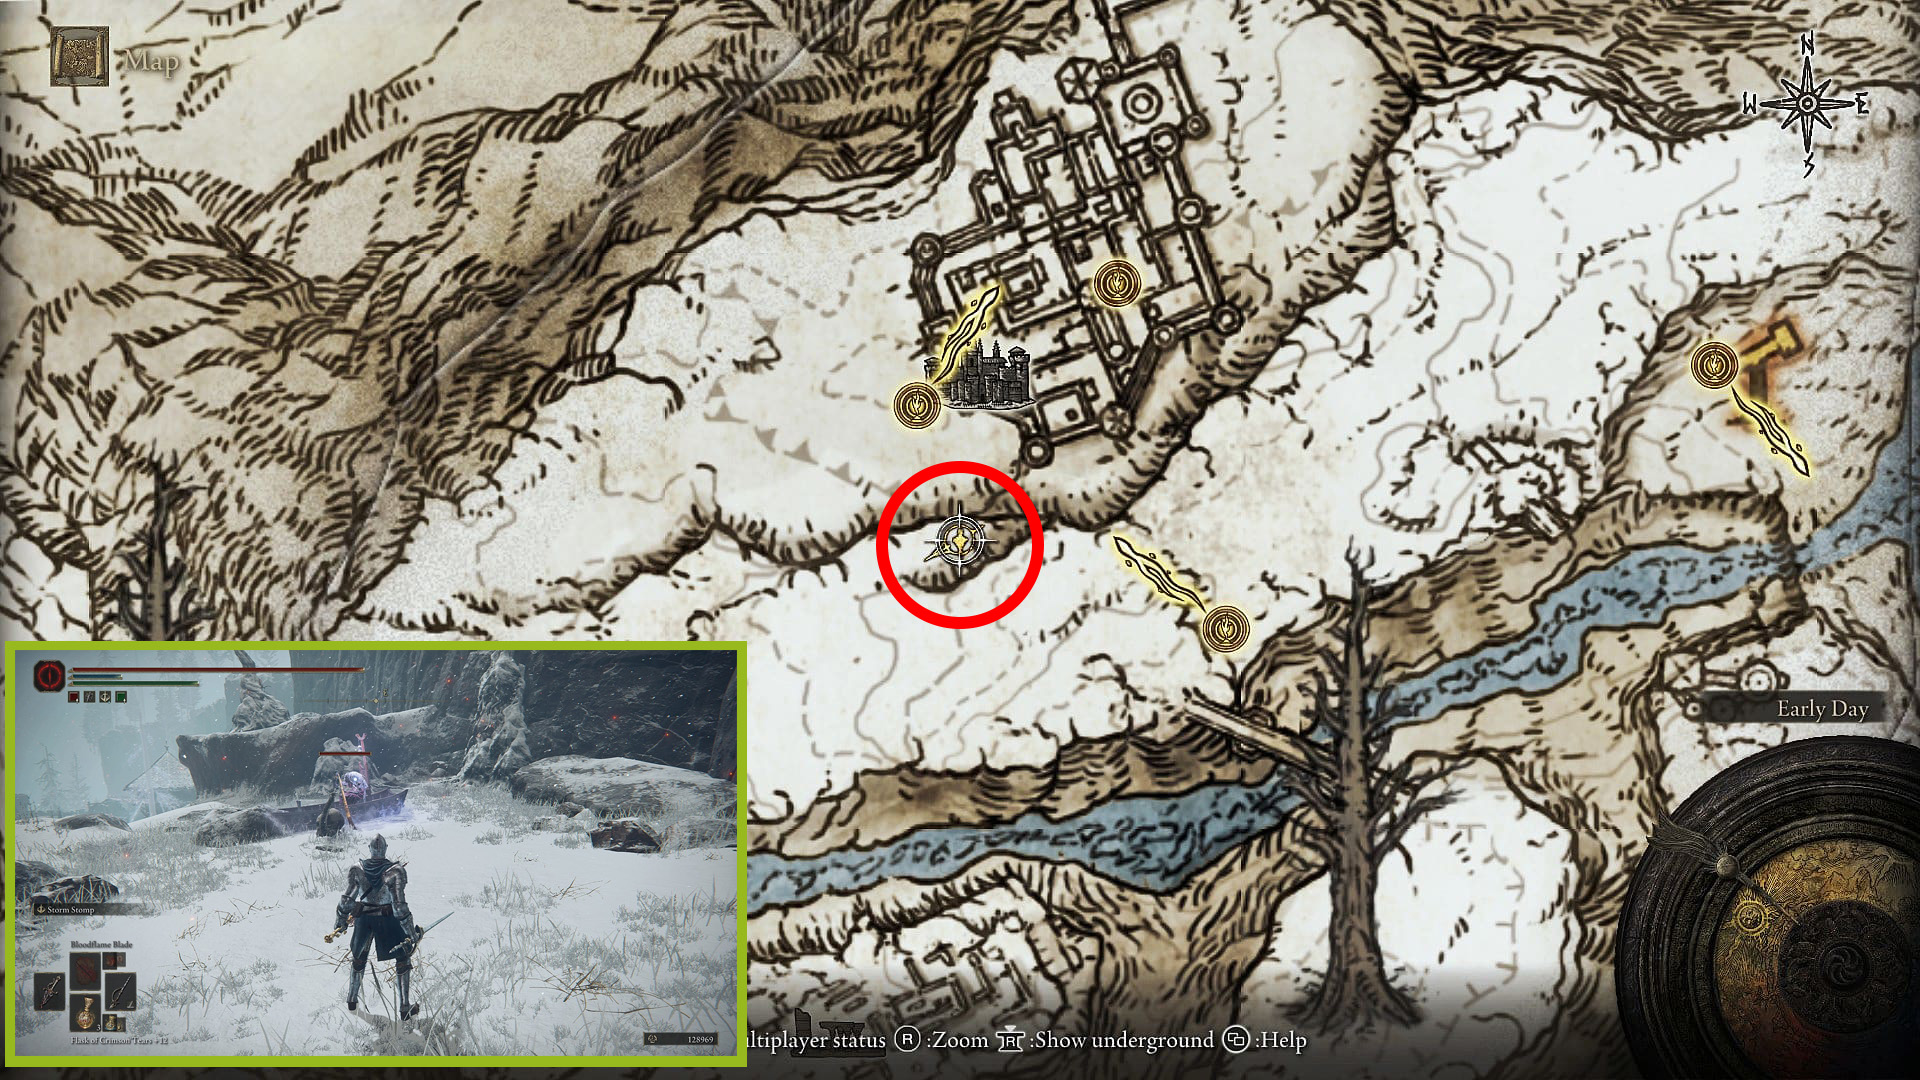
Deathroot 4 Location: Tibia Mariner Near Castle Sol and the Death Rite Bird Boss Fight
In the Mountaintops of the Giants, above and southwest of Castle Sol, is a large graveyard where enormous, ghostly skeletons spawn and take swipes at you. The Tibia Mariner hiding a Deathroot is on a platform to the north of the cemetery that overlooks the southwestern parapets of the Castle.
If you’ve reached the bridge, you’ve gone too far. It’s also in the opposite direction of the Death Rite Bird boss fight, so if you encounter that enemy, head back into the graveyard and continue searching. This Mariner has no boss health bar, but defeat it anyway for another Deathroot.
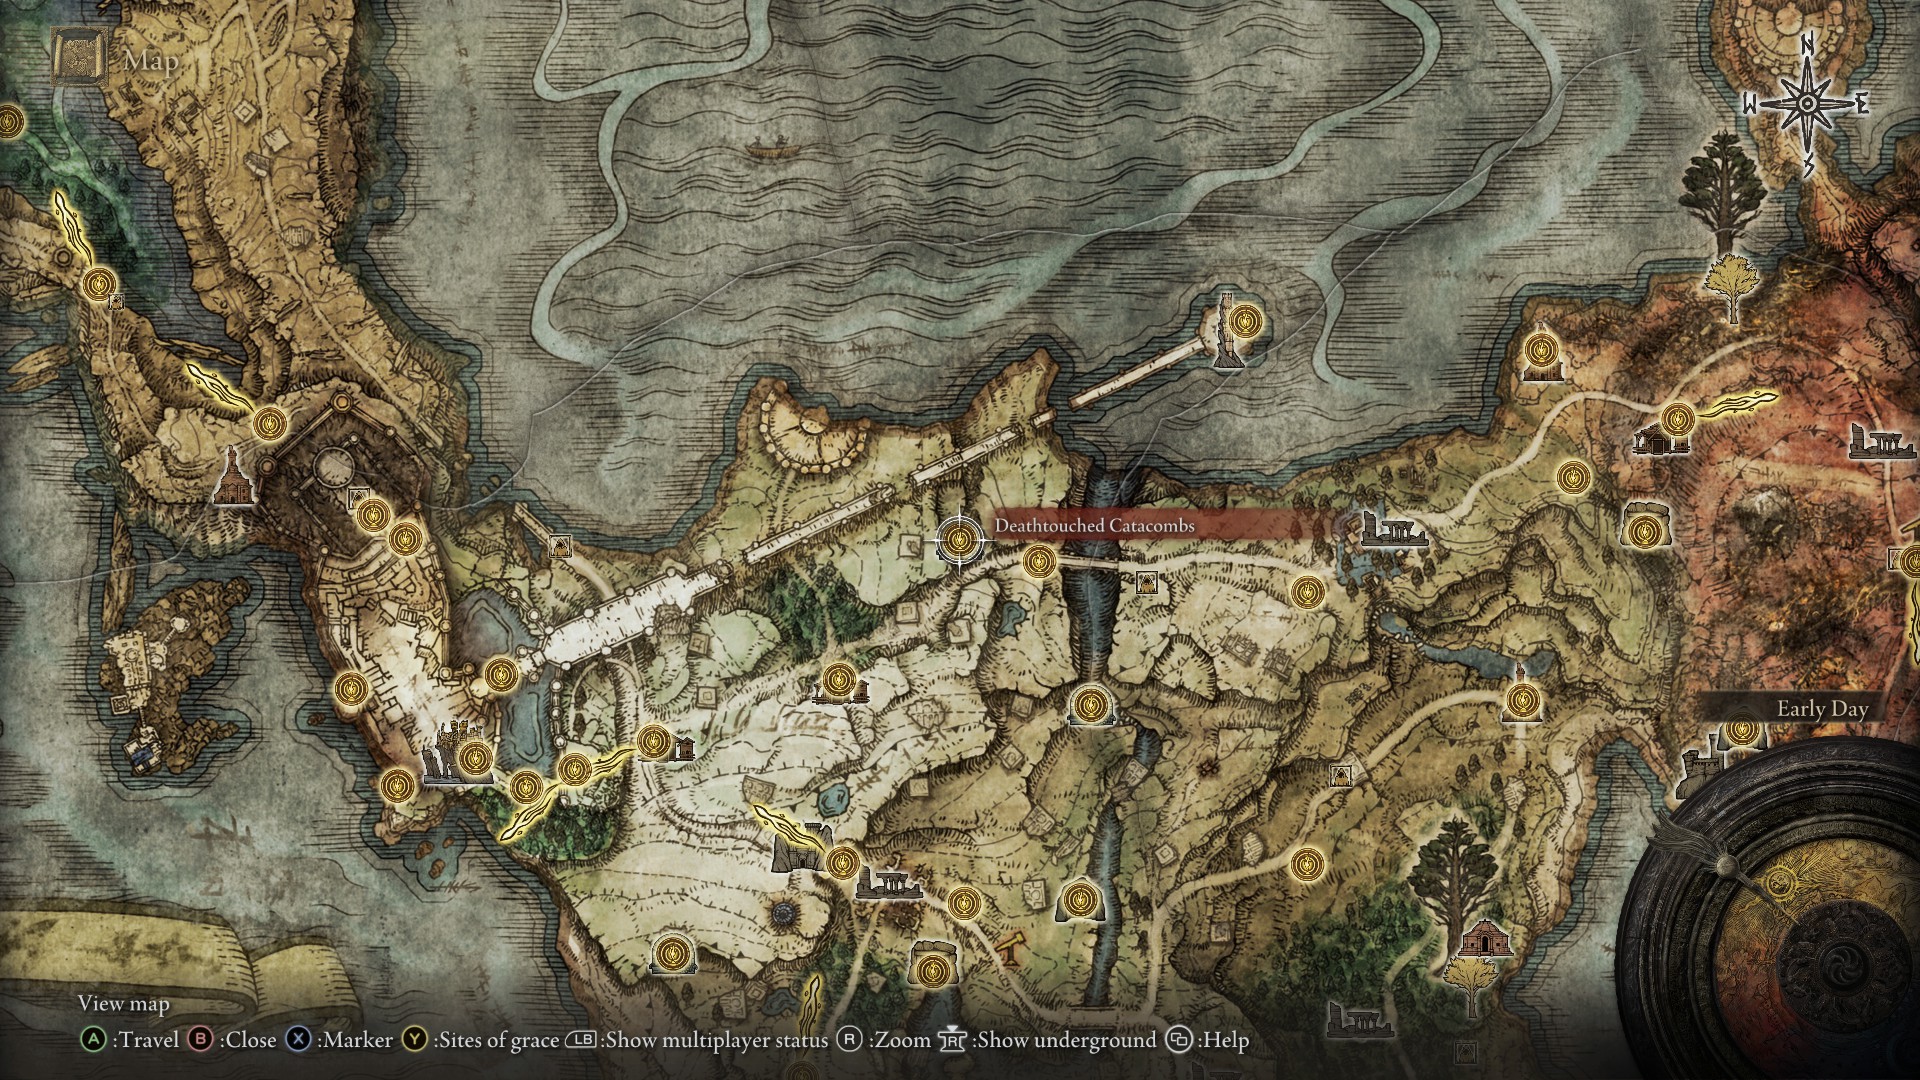
Deathroot 5 Location: Deathtouched Catacombs in Limgrave
Nestled into the cliffside of east Stormhill, west of Saintsbridge spanning Limgrave’s river, are the Deathtouched Catacombs. It’s the same dungeon that also hides the Uchigatana.
It’s probably the simplest dungeon to weed Deathroot. At its end, you’ll meet an injured but still dangerous Black Knife Assassin. Defeat them and loot the chest that appears for a Deathroot.
Deathroot 6 Location: Black Knife Catacombs
We’ve got a guide covering all of Black Knife Catacombs, but the short version is to head to eastern Liurnia and travel up the path to the northeast, then down into the valley. Complete the dungeon, though you don’t need to do the hidden side area with the Black Knife Assassin for the Deathroot.
Deathroot 7 Location: Gelmir Hero’s Grave
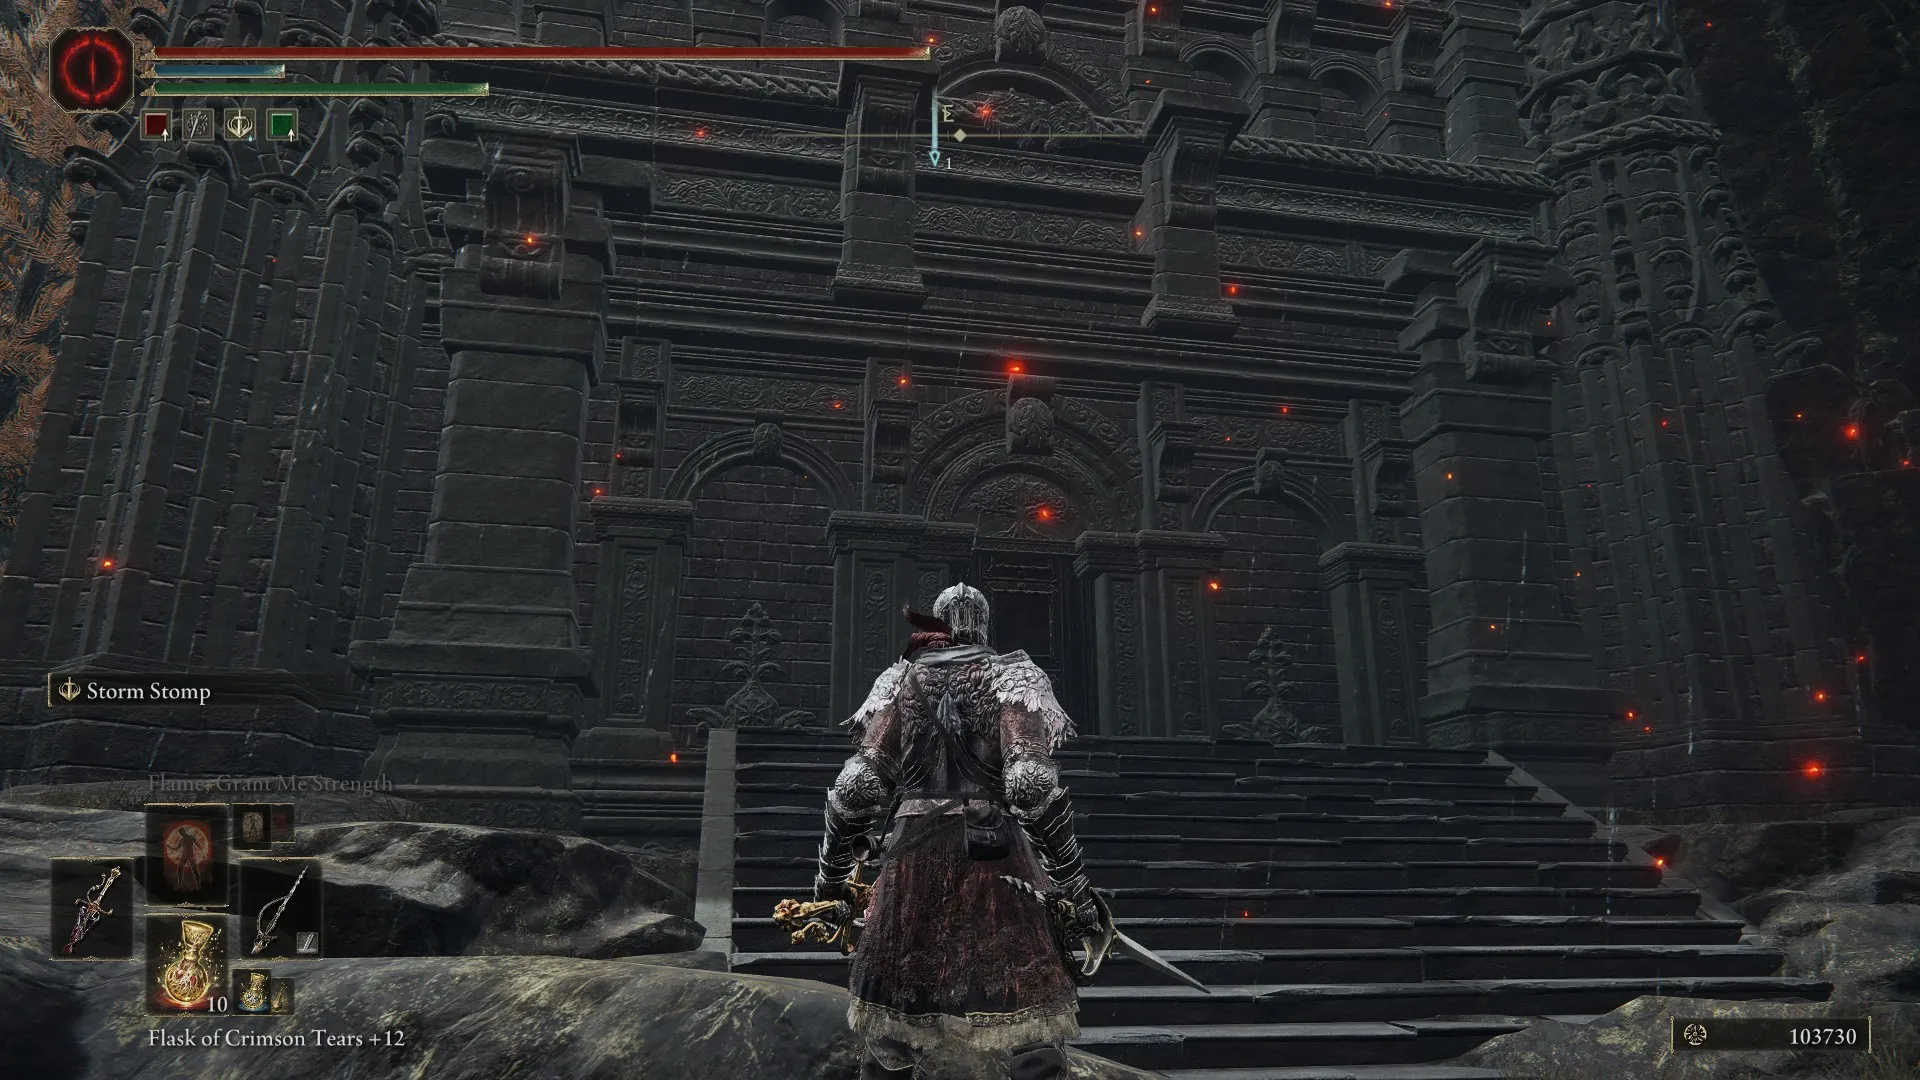
For this Deathroot location, start at the Bridge of Iniquity Site of Grace, and make your way around the cliffside, eventually heading west toward a cathedral-like structure against the mountainside.
There will be some wolves near it, and you can’t go any further west once you reach the Grave. Open the door, and take the elevator down.
You’ll encounter a chariot with bladed wheels moving up and down the path further into the dungeon. Use the alcoves to the side of the main path to avoid the chariot, as it will one-shot any character who hasn’t spec’d heavily into Vigor.
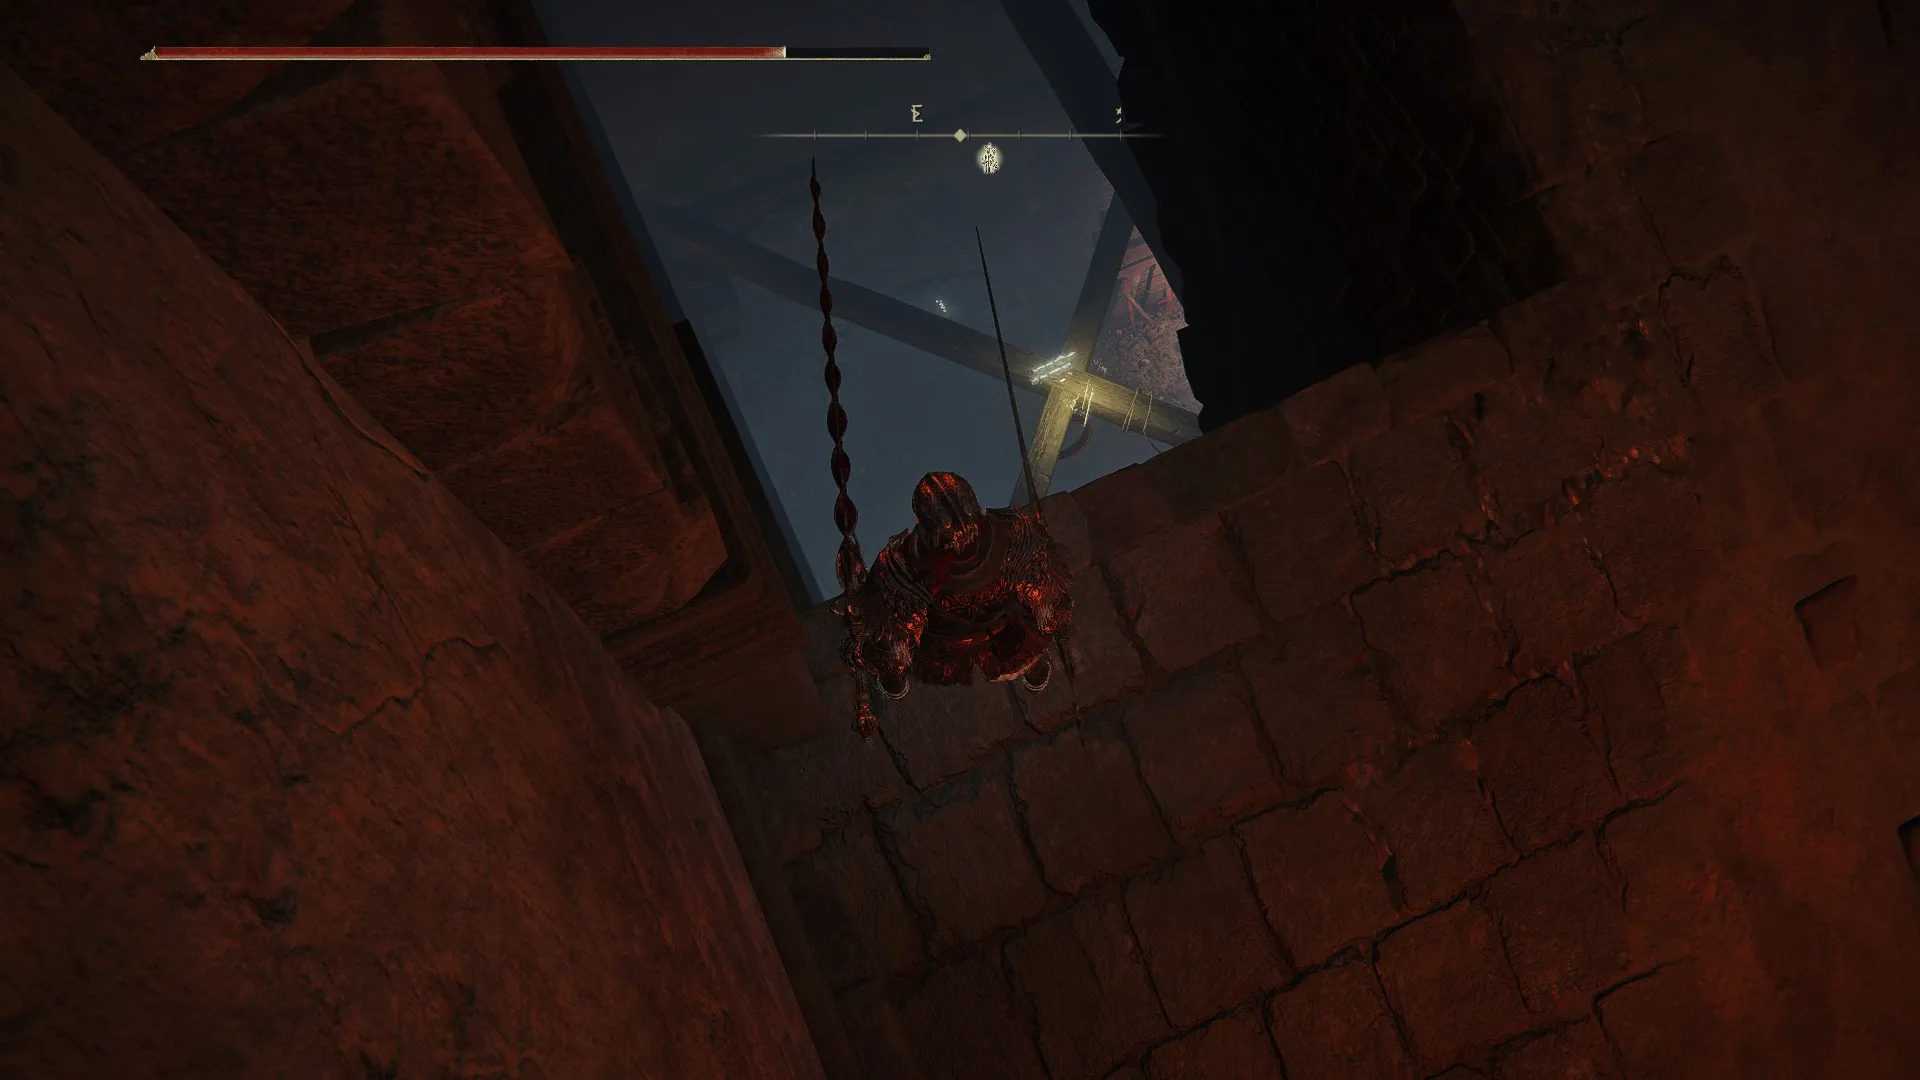
After the third alcove with the skeleton that lunges out, make your way to the openings at either side of the main path. You’ll see a pair of crossbars below.
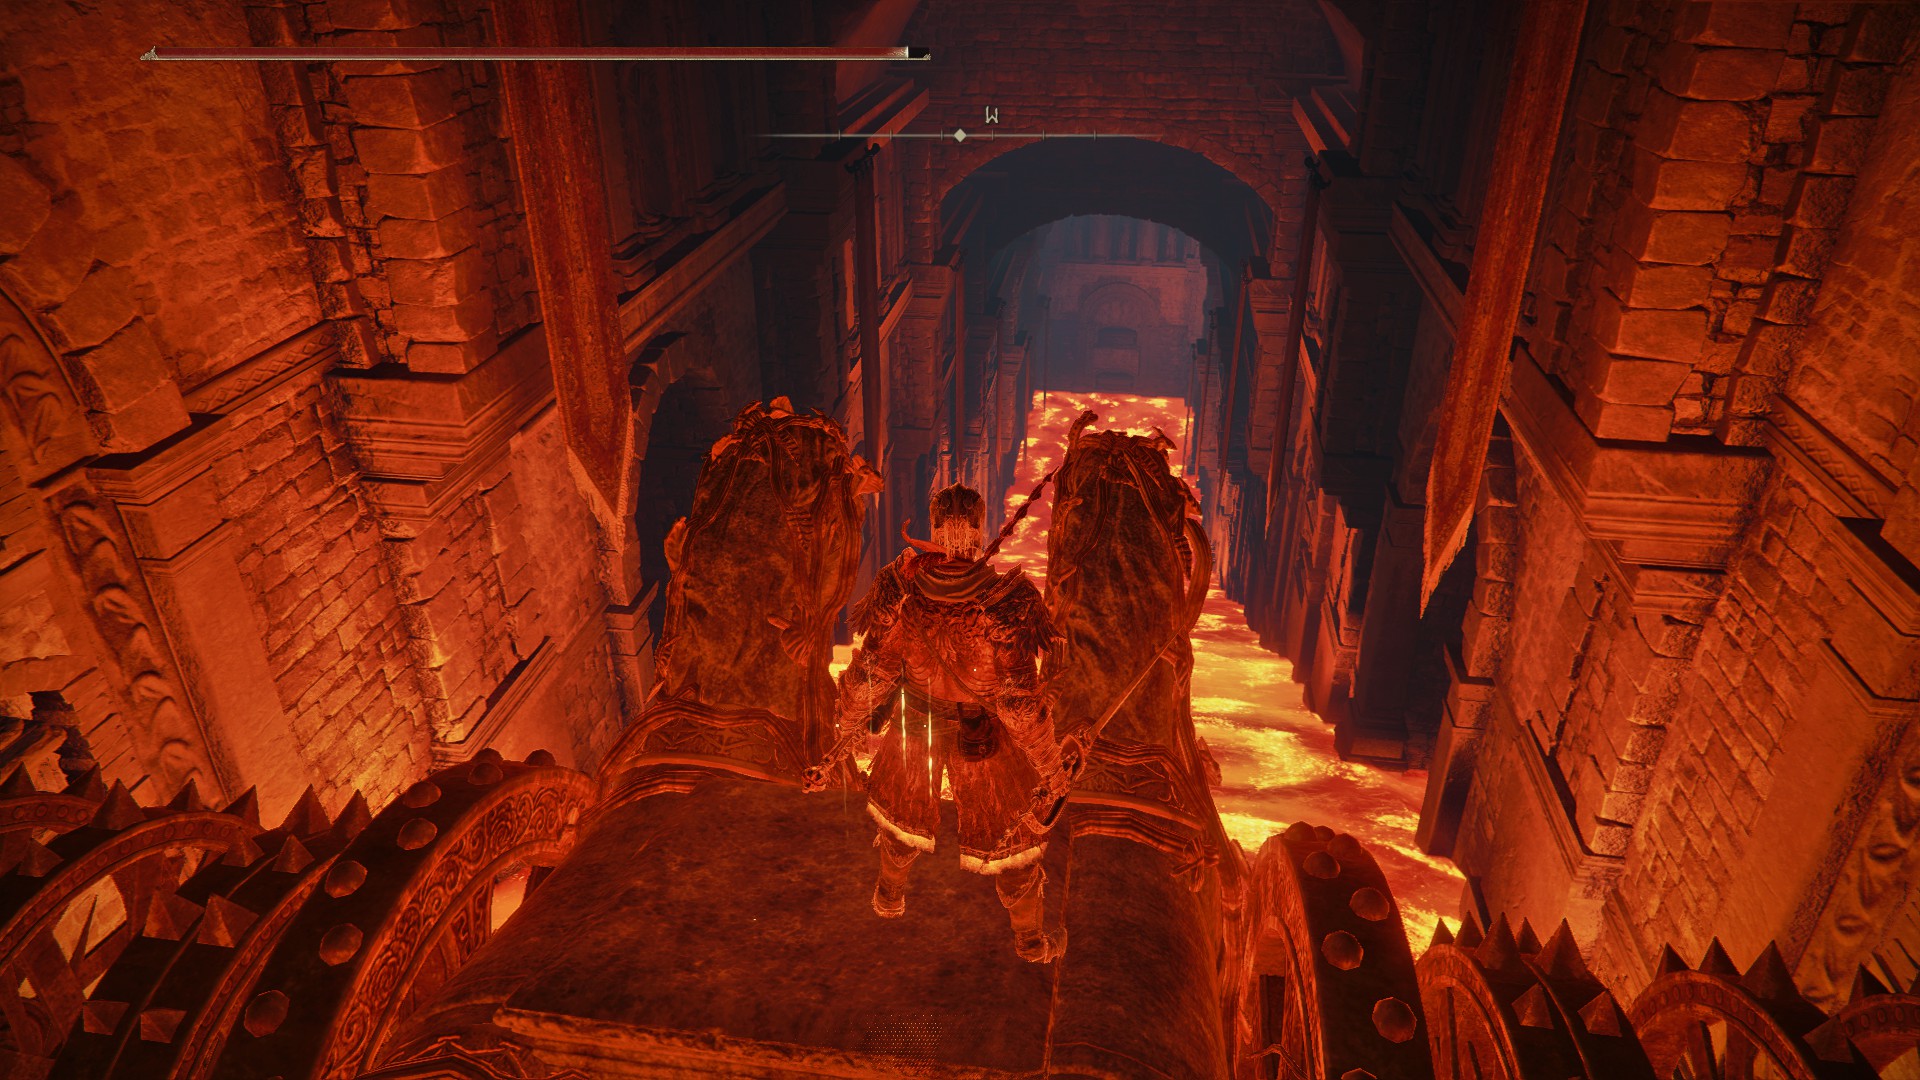
Jump down onto them, or the small lip at the pit’s edge above them, then down onto the bars. A second chariot will rush up beneath you, but this one lacks a driver. Instead, there’s a platform where the driver would be. Drop onto the platform and ride the chariot down the lava until it begins to turn around.
Make your way into the alcove with the item, then up the ladder nearby. The boss doors here don’t require a lever to open, and there’s a Stake of Marika if you die to the boss. The encounter is with a beefier Red Wolf of Radagon. Defeat it, and claim the Deathroot from the chest.
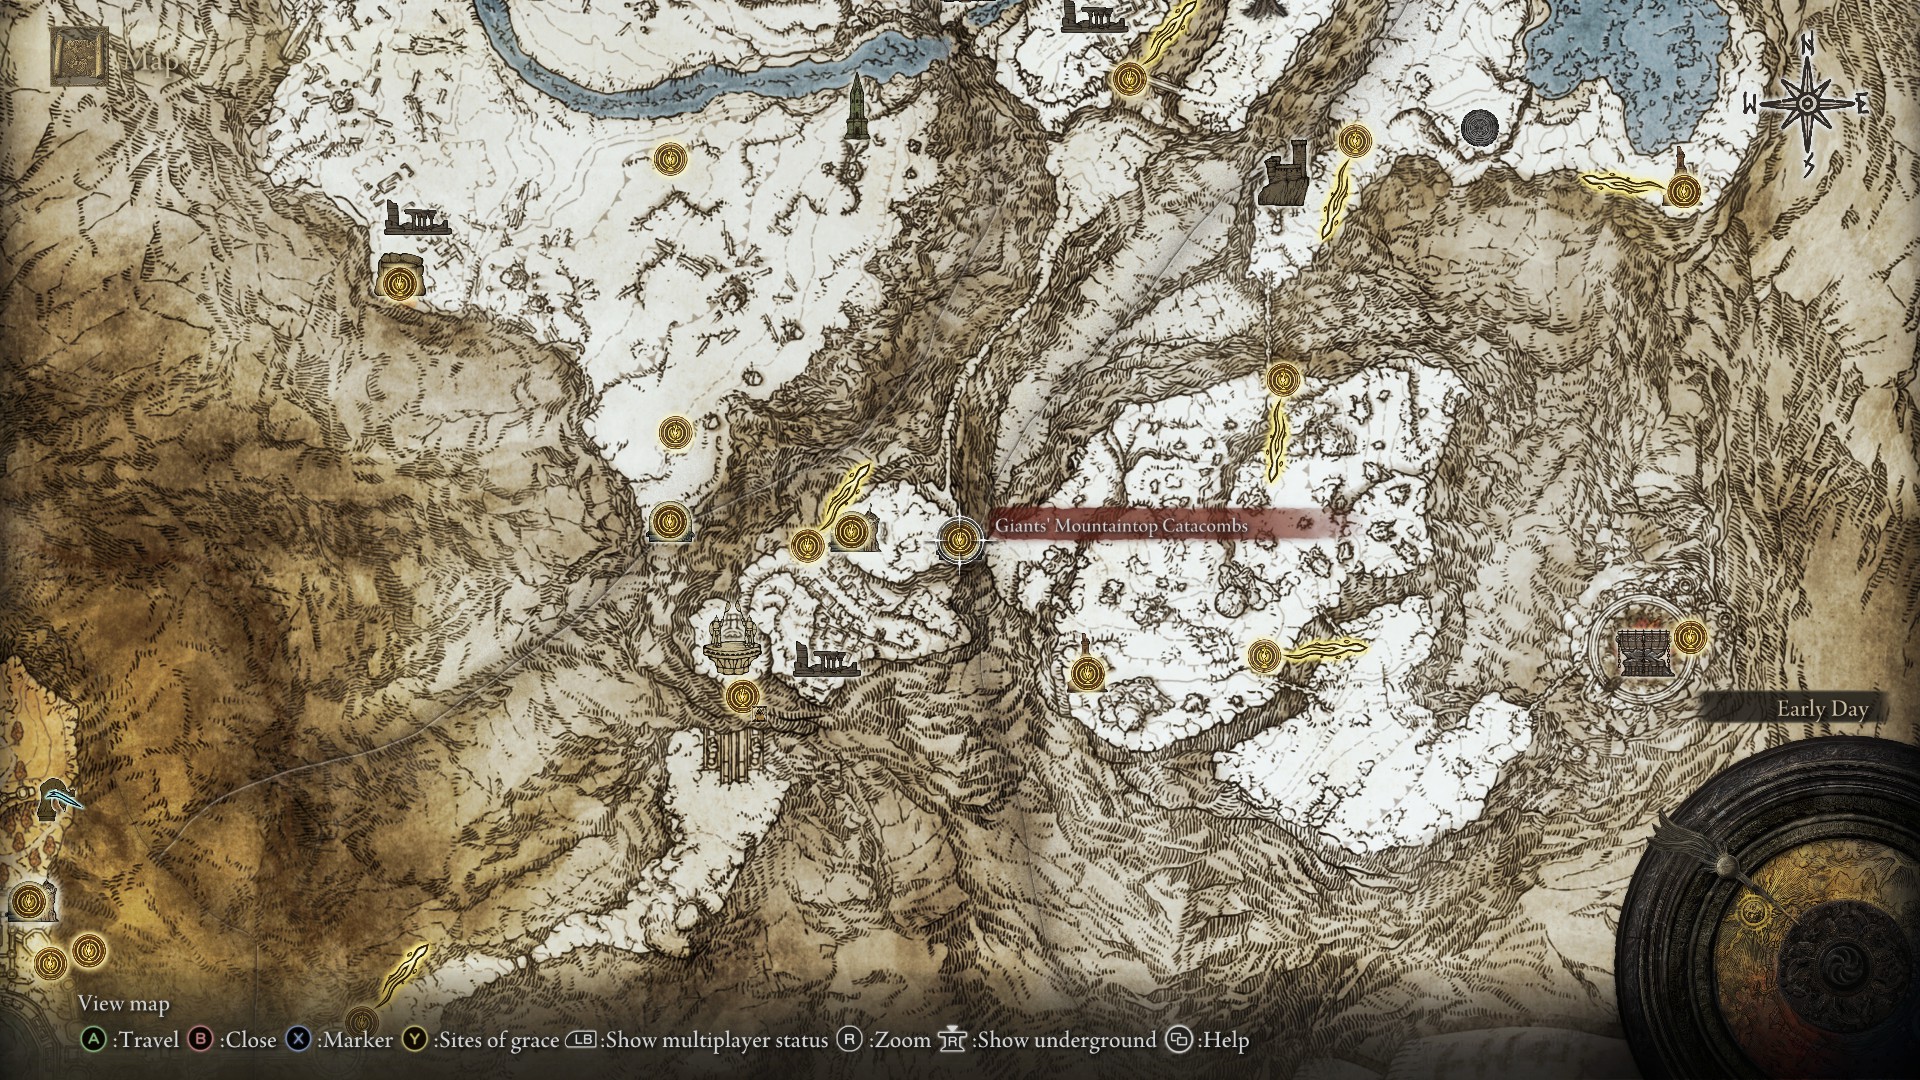
Deathroot 8 Location: Giant’s Mountaintop Catacombs
You access the vast Giant’s Mountaintop Catacombs by going around the Mountaintop and across both chain and narrow bridges until you reach an outcropping to the northeast of the Grand Lift of Rold. You can’t reach it directly from the Grand Lift area. It’s only accessible by going all the way around.
This dungeon is complex, multi-layered, and requires some non-linear thinking, and at its end is an Ulcerated Tree Spirit, the giant beast you may have fought deep below Stormveil Castle or around the base of Mt. Gelmir. Defeat it for both a Golden Seed and a Deathroot in a chest.
Deathroot 9 Location: Hidden Path to the Haligtree
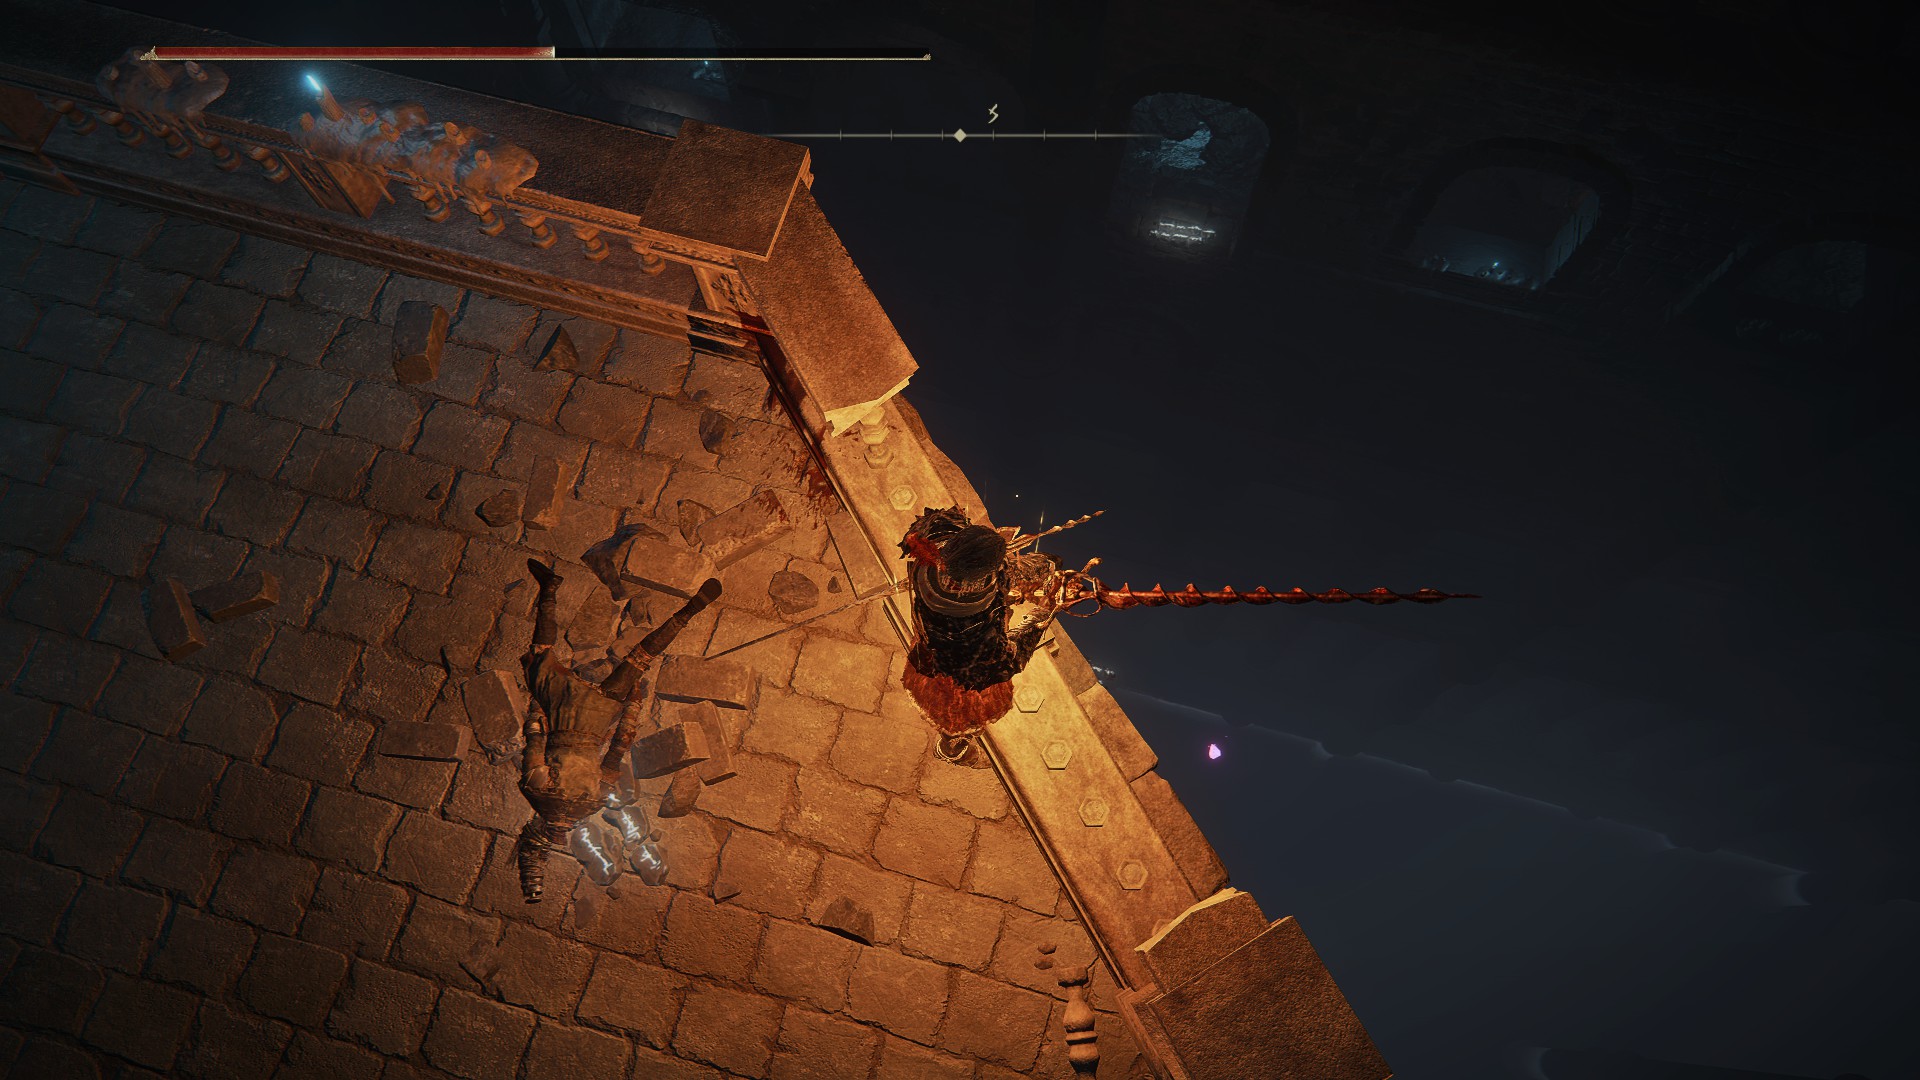
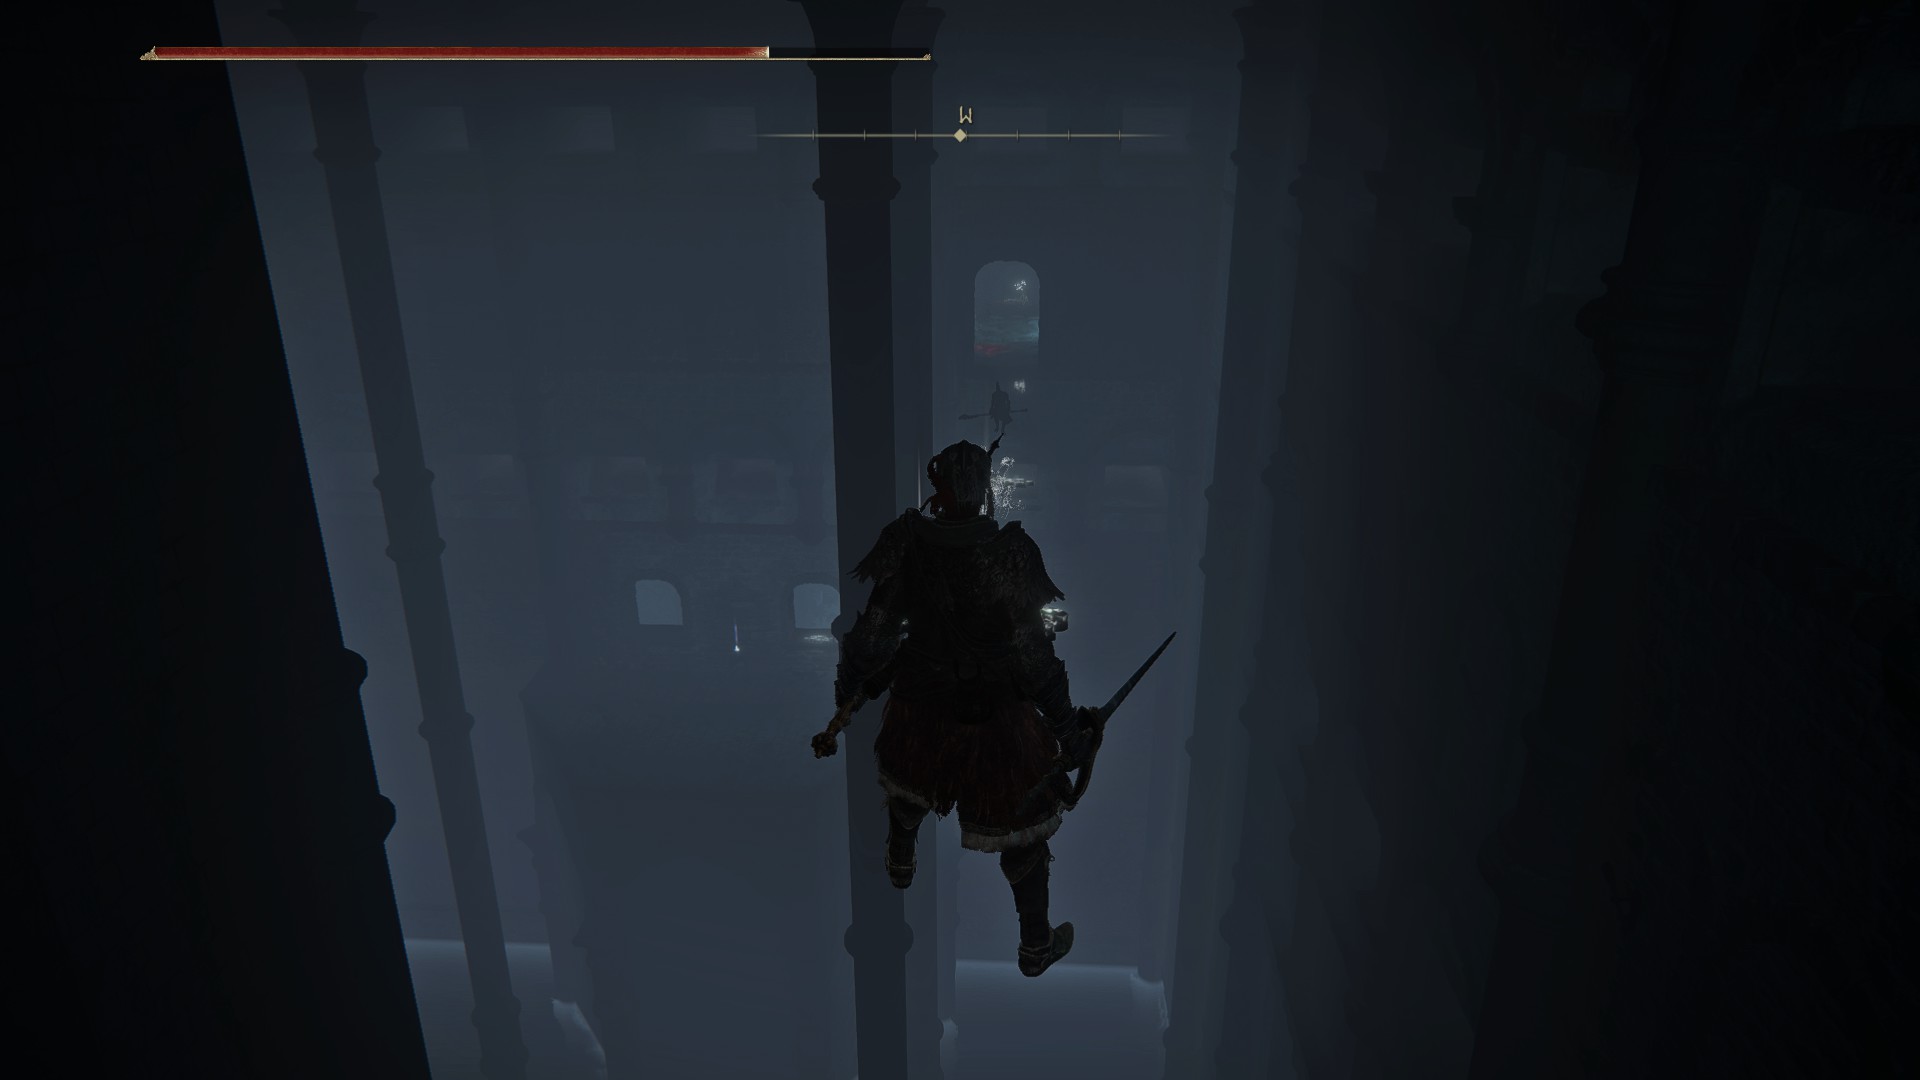
Not a dungeon on its own, the Hidden Path to the Haligtree does hide a small complex within it — and a Deathroot. Use the Haligtree Secret Medallion at the Grand Lift of Rold, make your way to the platform halfway up the stairs, and drop onto the invisible walkway below the broken railing.
The invisible path seems to lead into a small chamber with a single item guarded by three Vulgar Militia. Instead, you need to turn left at the doorway to the small room and head toward another opening.
Turn left again, and drop down onto the lower platform. Jump through the window and pull the lever behind the land octopus to open the boss door to another Mimic Tear fight. Once defeated, a chest spawns with the final Deathroot chest you need.
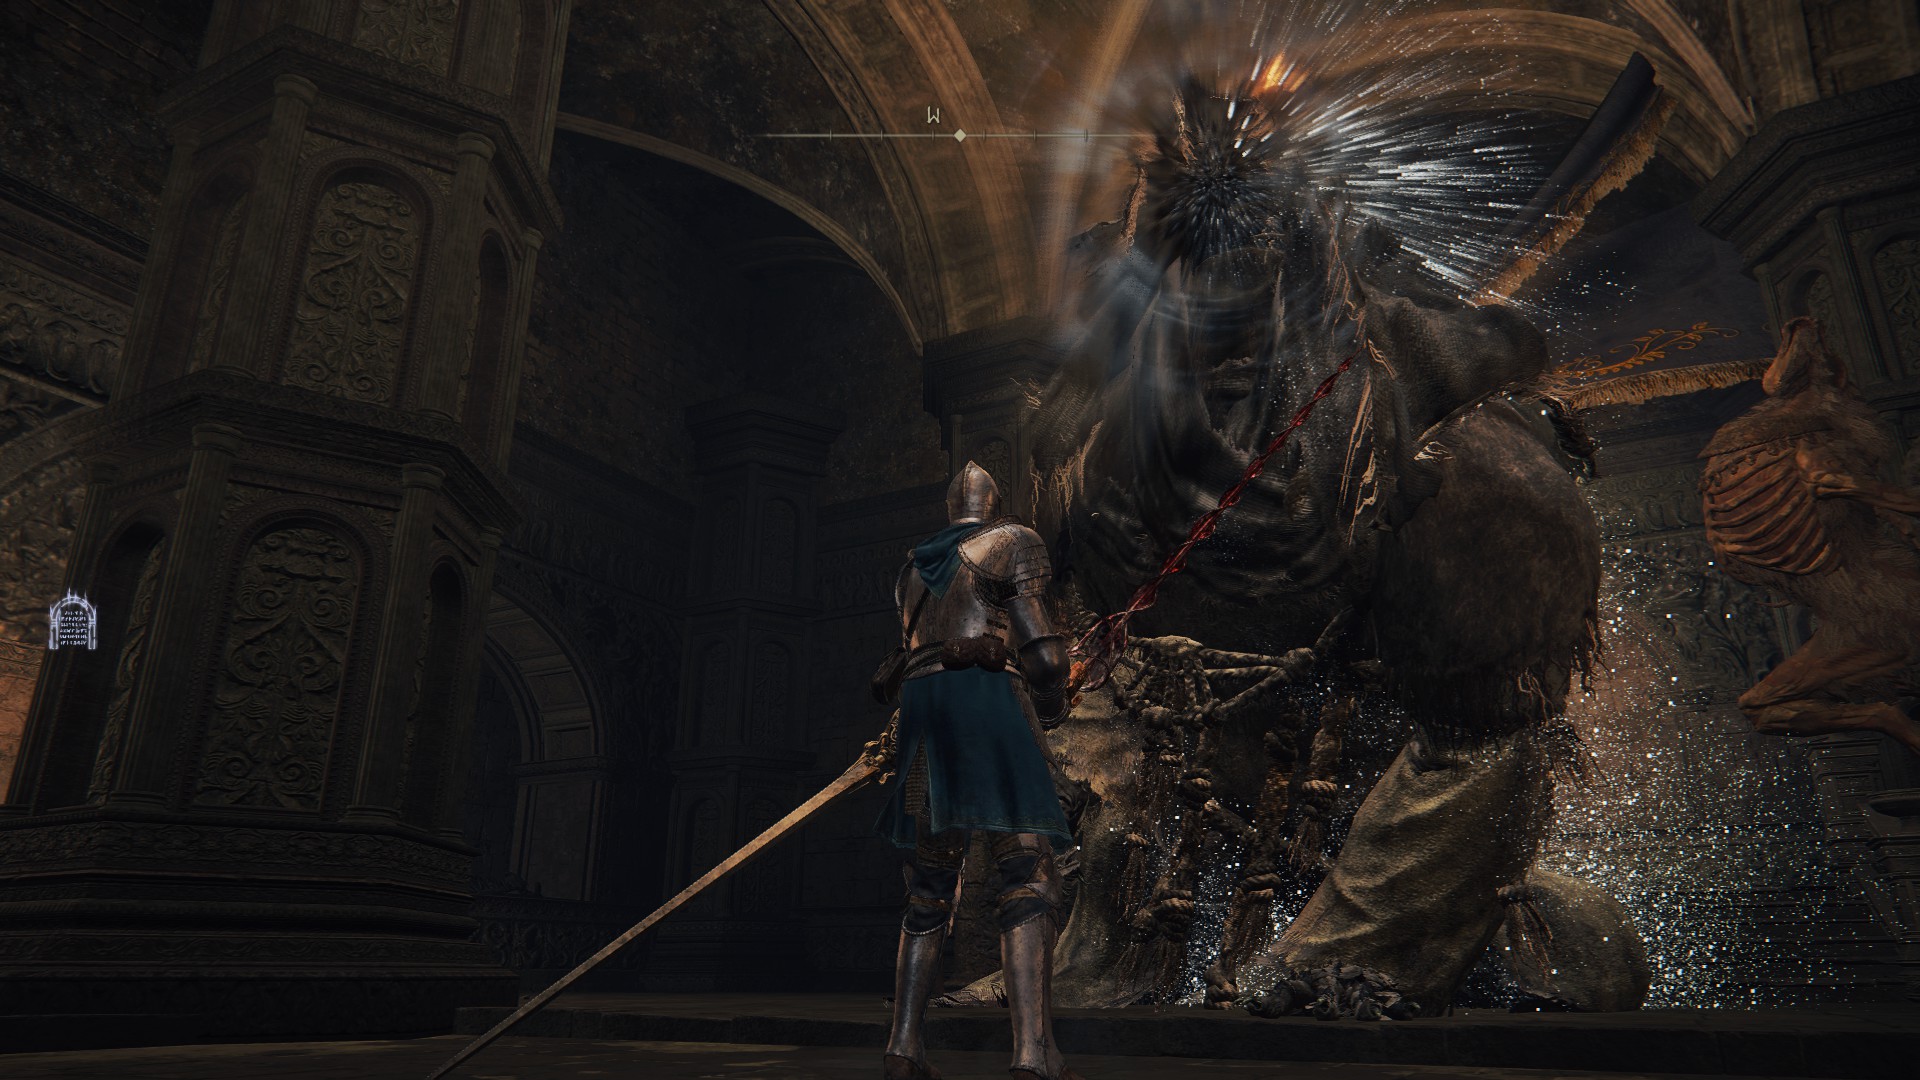
If you’ve been giving Gurranq the Deathroot as you collect them, he’ll eventually turn hostile after giving him the third. He has the same moveset as first-phase Maliketh but significantly more health. You only have to do about ⅙ of his health in damage before he’ll ask you to yield. Doing so allows you to continue his quest and give him the rest of the Deathroot. Once Gurranq eats all nine Deathroot, he leaves for parts unknown.
Gurranq Deathroot Rewards
Your rewards for giving Gurranq all of the Deathroot are as follows:
- Clawmark Sacred Seal
- Bestial Sling Incantation
- Bestial Vitality Incantation
- Beast’s Roar Ash of War
- Beast Claw Incantation
- Stone of Gurranq Incantation
- Beastclaw Greathammer
- Gurranq’s Beastclaw Incantation
- Ancient Dragon Smithing Stone (upgrades standard weapons to +25)
And that’s how to find all nine Deathroot locations in Elden Ring, alongside the rewards you receive from Gurranq. The Clawmark Seal enhances all bestial Incantations and has good, but not best-in-slot, Faith scaling, making beast magic a viable option. Check out our best Sorceries and Incantations guide for more great choices, and pair them with some of the best Ashes of War for a strong build from the get-go. Our Elden Ring guides hub has even more.



Published: Mar 25, 2022 02:35 am