Ready to reinstall Fallout 4 and experience a whole new quest line with a bunch of new companions? Project Valkyrie re-tools much of the end game and gives you a whole new storyline to work through.
In order to use Project Valkyrie, you need to have the Outcasts & Remnants mod to be installed first. The Fusion City mod is recommended, but not required. Your character also needs to be able to pick master locks or you can’t complete the quests.
Because the mod quests intersect heavily with the main vanilla quests, there’s possibility for conflicts to arise. If you run into a problem where a quest isn’t finishing properly, talk to one of the new companions and pick the option to end or restart the current quest.
Besides the new quests and companions, Project Valkyrie significantly alters how the end games plays out. You no longer have to pick one specific faction to work with, and you aren’t railroaded into help that faction annihilate the others.
Starting Project Valkyrie
This mod’s primary quest line is tied closely to the vanilla game’s Secret Of Cabot House side quest, which has to be started first to gain access to the new Project Valkyrie content.
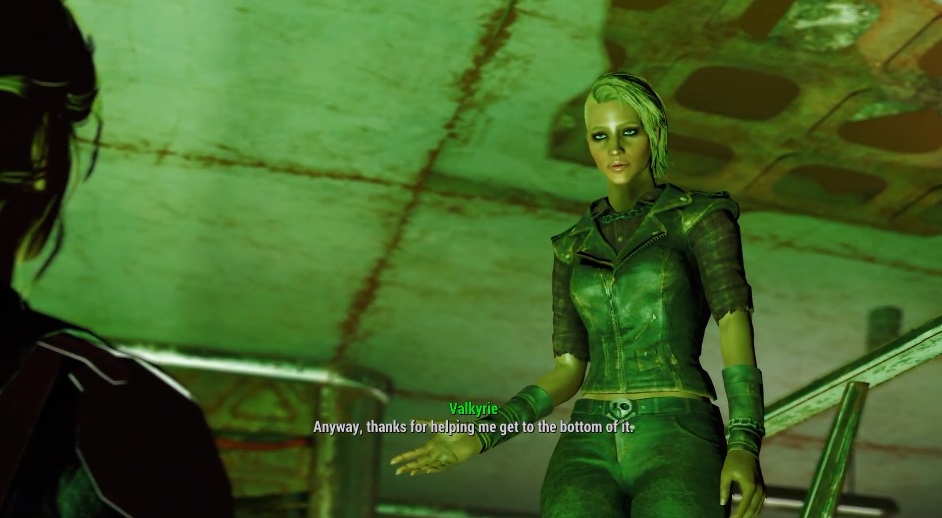
If you’ve already completed this quest and can freely enter the Parsons State Insane Asylum, just head straight there to find Valkyrie. Talking to her begins the In A Darkened Room quest.
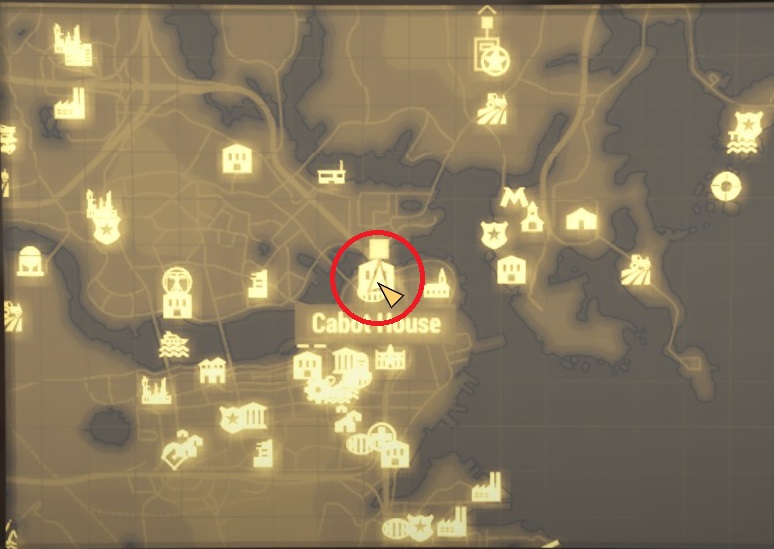
If you haven’t started or completed the Cabot content yet, first travel to Cabot House, which is found north of Goodneighor and west of the Old North Church.
The door is locked and can’t be picked, so talk to intercom on the left side. If you have the proper Charisma skills, you can persuade them to let you in.
If you fail the persuasion attempt, instead find the ghoul named Edward first and he’ll tell you to meet him at Cabot House. He can spawn randomly at Bunker Hill, the Third Rail bar, or Dugout Inn.
Kick off this weird immortality-themed quest by accepting the job to track down a dead courier and pick up his serum. After the battle with the raiders, bring the serum back to start the Emogene Takes A Lover quest.
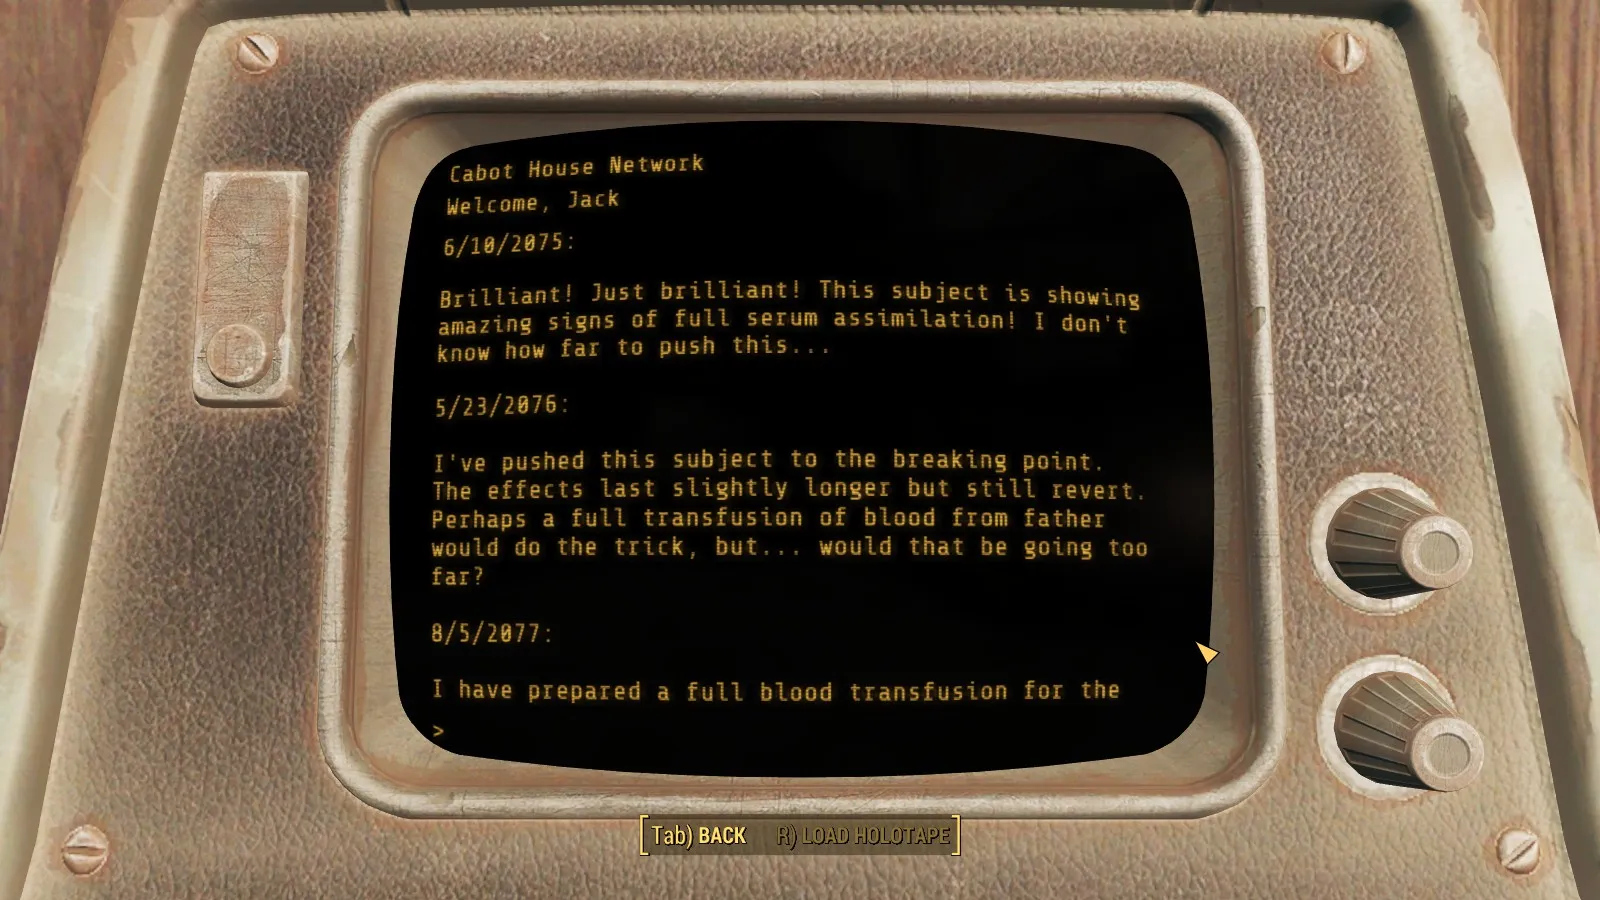
When Edward takes you upstairs, hack the computer on the back wall near the second staircase and read the entry labeled Patient Log S18. This entry updates the main Project Valkyrie quest In A Darkened Room.
Before you can actually get into the Asylum to meet Valkyrie, you need to have Jack unlock the doors. Keep completing tasks for Edward until you finally reach the Secret Of Cabot House quest. During that quest, Jack will unlock the Asylum.
Once inside, make sure to help Jack unlock the doors and activate the elevator, or you can get permanently stuck in the basement with no way to leave after finding Valkyrie. The only way to leave the building at that point is to use console commands to warp to a new location.
In A Darkened Room
For this first quest of Project Valkyrie, travel to the Parsons State Insane Asylum at the northeast end of the map.
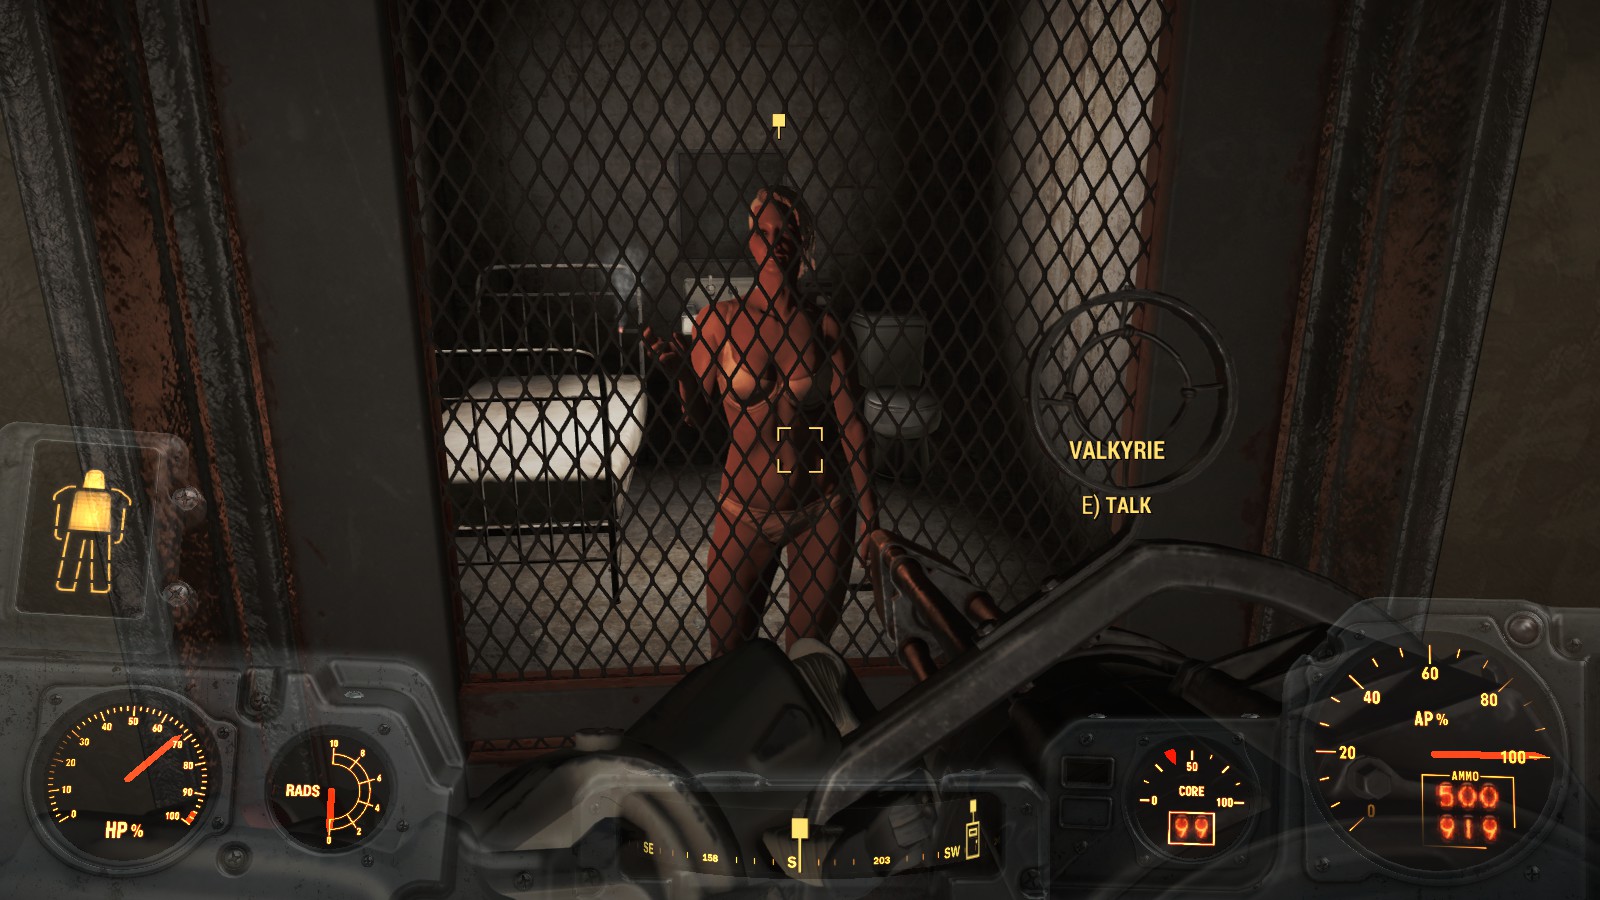
Valkyrie herself is found in a locked room in the basement (you have to travel through the gap between walls and jump down the giant hole to reach this area).
Access Nurse Deesil’s terminal to unlock the door, and then leave the Asylum. Note that have to actually walk by the front door to the Asylum to trigger the end of the quest, so just warping out isn’t immediately helpful unless you walk back.
Be sure to talk to Valkyrie to get a dose of super charged Serum (and to give her some clothes and a weapon)!
Malpractice
Talk to Valkyrie again and ask how you can help to kick off the Malpractice quest, which will have you traveling to different medical centers in search of answers.
Travel to the Medford Memorial Center, which is directly next to the Malden Center station and southwest of Greentop Nursery. This area is filled with suicide bombing super mutants, so you’ll want to wear your power armor. Pick the master locked door and head up to the top section to access the terminal and find out about Valkyrie’s abduction.
Next, travel to Kendall Hospital (north of the Institute and east of Cambridge Police Station). Be ready for raiders and deathclaws! In the basement, look for a terminal behind a giant hole in the wall and read the notes.
Finally, go to Mass Bay Medical (southeast of Vault 114 and Swan’s Pond). Head up towards the top of the area and look for a back room with a terminal located above the power armor station. Read through those files to find out how Valkyrie was kidnapped.
Heir To The Throne
Anytime after reading the final terminal in the previous quest, talk to Valkyrie again and ask for another job to start this quest line.
Head to Back Street Apparel and look for the blue door labeled Valkyrie’s Apartment (right next to Club Snuggle). Pick the novice lock and head inside to raid the apartment, which has work benches, a power armor station, and can now serve as your home.
Grab the Note From Vanessa on the dresser chest in the bedroom and then talk to Valkyrie again. Travel to the USAF Satellite Station (southeast of Robotics Disposal Ground).
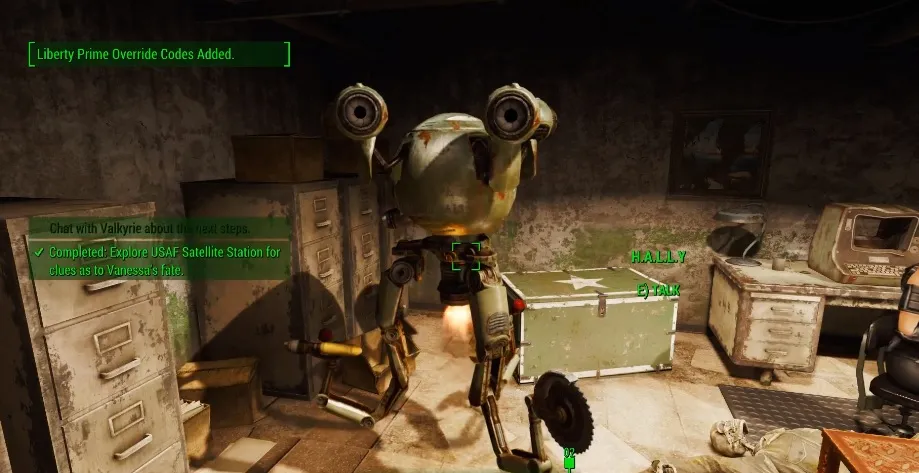
Be on the lookout for laser tripwires in here! Talk to the H.A.L.L.Y robot to get the Liberty Prime overwrite codes and then grab the shipping receipt off the dead body. Talk to Valkyrie again to complete the quest.
From this point onward, Valkyrie will offer repeatable side quests if you initiate dialog.
Wag The Dog
This quest intersects with the Brother Of Steel end game state and sees you taking over control of the faction. Its best to start this quest after completing the vanilla Show No Mercy quest so Liberty Prime is already re-assembled.
With the Liberty Prime override codes in hand, travel to the B.O.G. Bunker south of Oberland Station and chat up Fiona McBride in the lounge area of the sub-level.
Talk to the kid named Owen in the next room and take him to the safe house marked on your map (and for the love of God, don’t give that child a mini-gun when he asks for one). Talk to Owen’s mom — who it turns out is none other than Sarah Lyons — and then fight off the Brotherhood invaders.
Read the info on the terminal and talk to Sarah again, then follow the map markers to kill the Brotherhood members. Read the note labeled Orders From Kells and then show it to Owen’s mom.
Deal with the Brotherhood ambush situation, and then press the glowing red button above the toilet to open a secret back room. Read the terminal and then chat with Maxson.
From there, its up to you whether to go the peaceful or violent route with Sarah. Follow her around and talk to Captain Kells and then Proctor Quinlan. Chat with Fiona again to finish the quest.
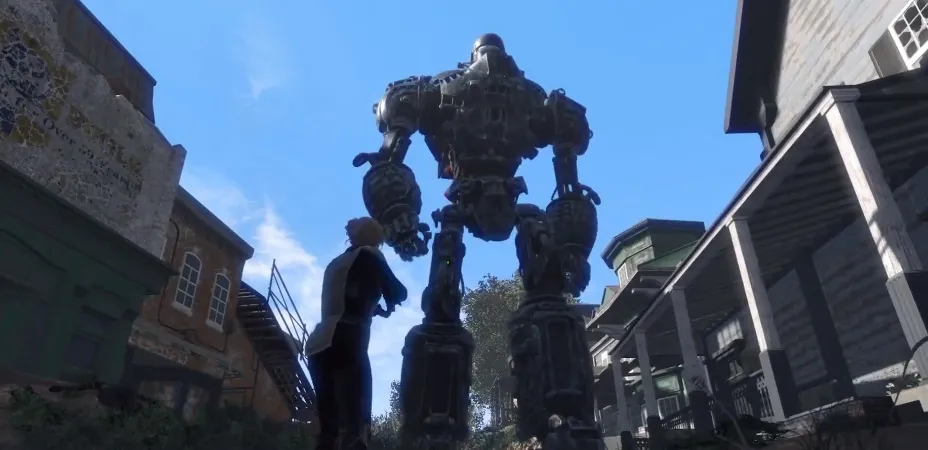
At this point you can now talk to Fiona to initiate the Peace Through Superior Firepower side quest… which has you recruiting Liberty Prime as a companion.
Yes, the insane Democracy-spreading robot Liberty Prime is now your companion. Have fun annihilating the wasteland! Obviously he can’t enter buildings however, so he’ll hang around outside when you enter an interior area.
The Revolution Will Not Be Televised
For the final main quest of Project Valkyrie, talk to Sarah again and then go chat with Carter at Club Snuggle next to Valkyrie’s apartment.
This quest has you taking control of the Institute, so its best to start before fully completing the main Institute quest lines of the vanilla game.
Fast travel to Hubris Comics and follow the map markers to get the teleporter gun components, then take them back to Carter Beckett. Walk to the pinup room in the basement of Club Snuggle and talk to Dr. Zimmer, then return to Carter again.
Go inside the Institute and load the holotape into the terminal in Dr. Ayo’s room. With the teleporter gun equipped, initiate conversation with Clayton Holdren and decide whether to kill him or teleport him elsewhere. Repeat this process with Isaac Karlin and Alana Secord, then go back and talk to Carter again.
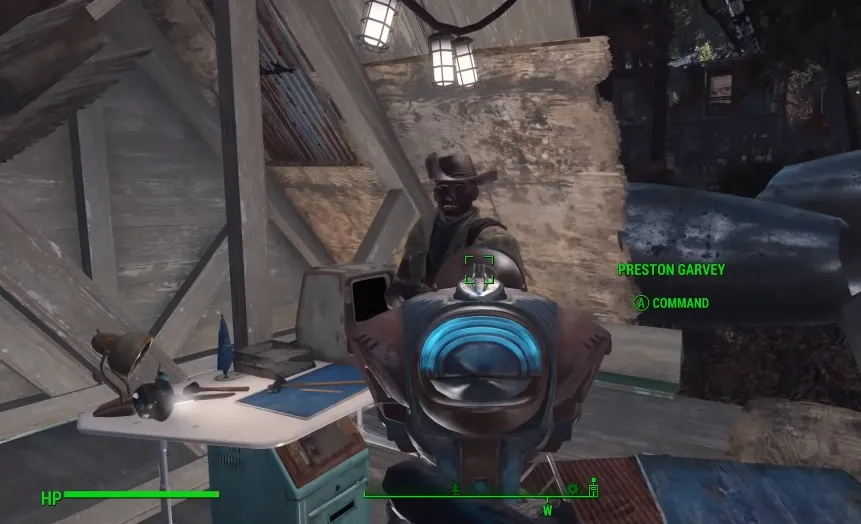
Now just follow the quest markers to talk to Sawyer, Sarah, Desdemona, and Preston to take control of the Institute (if you really hate Preston Garvey, be sure to teleport him to prison). From here on out you can use the Director’s room as your home base.
After completing the main quests, repeatable side quests become available by talking to Sarah, Valkyrie, and Owen, and by opening the terminals in each area of the Institute.
You can also now recruit the following new companions:
- Synth Nate in the SRB Lounge of the Institute
- Synth Gloria at the firing range in the Advanced Systems room of the Institute
- Synth Nora in the steam shower section of the Director’s room
Looking for more Fallout full conversion mods that offer extended stories and new ways to play? Check out our full run down of best Fallout mods here!




Published: Aug 31, 2018 02:05 pm