Frostpunk 2 is not an easy game. In fact, it’s one of the hardest survival strategy games on the market, as nearly every system is designed to give the player a hard time. The build system is the main culprit in this regard as it’s the foundational system for most other mechanics in the game. It too can be overcome though. Keep reading this Frostpunk 2 building guide and you’ll find out how.
The Main Rule: Separate Everything Into Regions
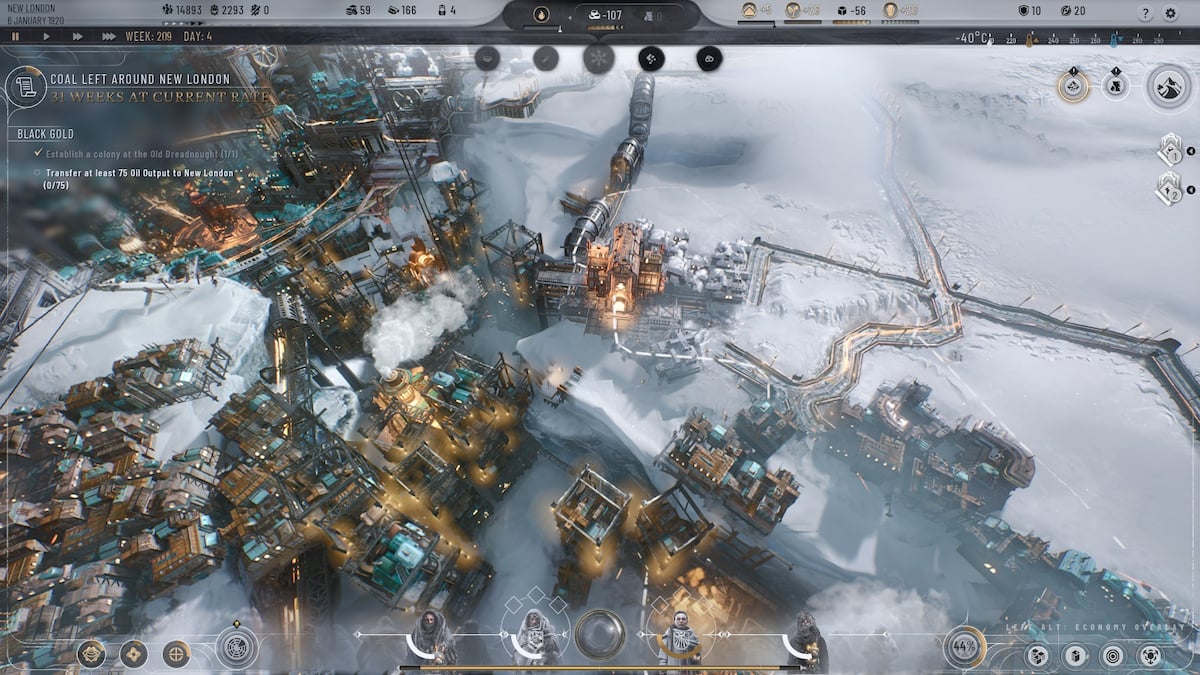
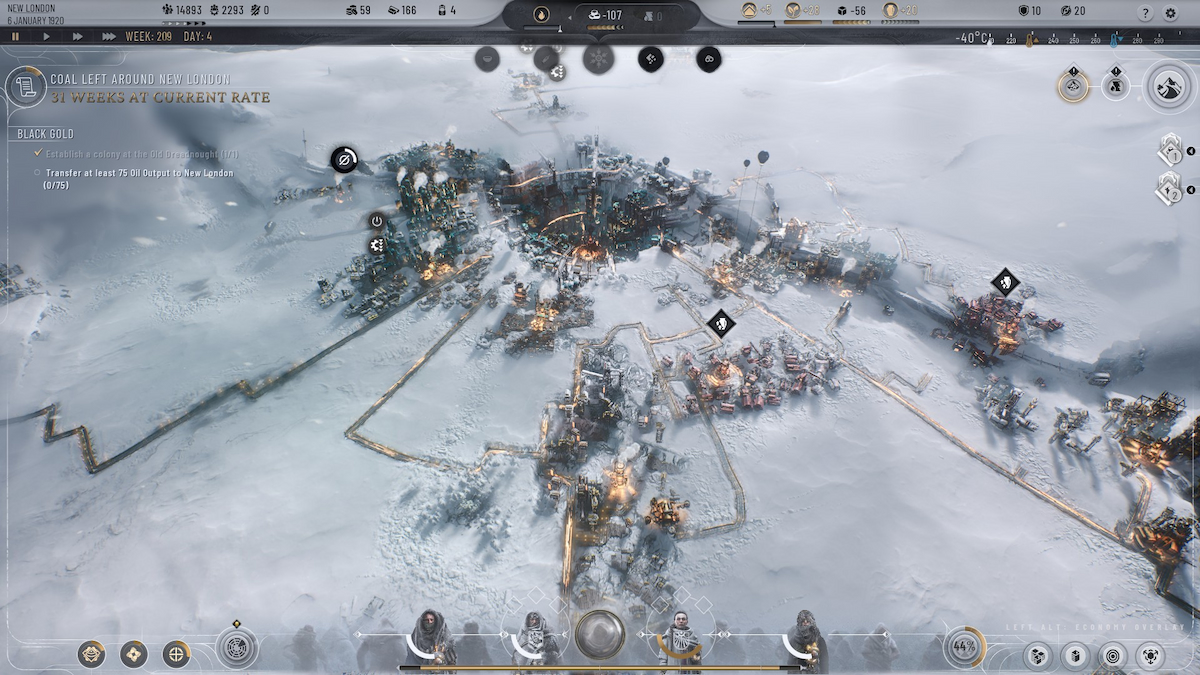
Before you even begin building your settlement, hold down the Left Alt key or press B to open up the build menu. This will show you a layout of all the available resources nearby. The game usually does a pretty good job of generating resources in the right locations so just follow those natural paths.
Be mindful of how you lay out your districts, as certain districts benefit from being next to each other while others receive a negative effect. Generally, you want your housing districts and your food districts to be together as those give bonuses to each other. It’s a similar relationship between extraction and industrial districts.
Never build conflicting districts directly next to each other as that can cause squalor and other harmful effects. Remember, Frostpunk 2 is all about balancing out production and needs. Building conflicting districts next to each other will only exacerbate your issues rather than fixing them.
Always Build Housing Districts Along Sheltered Areas
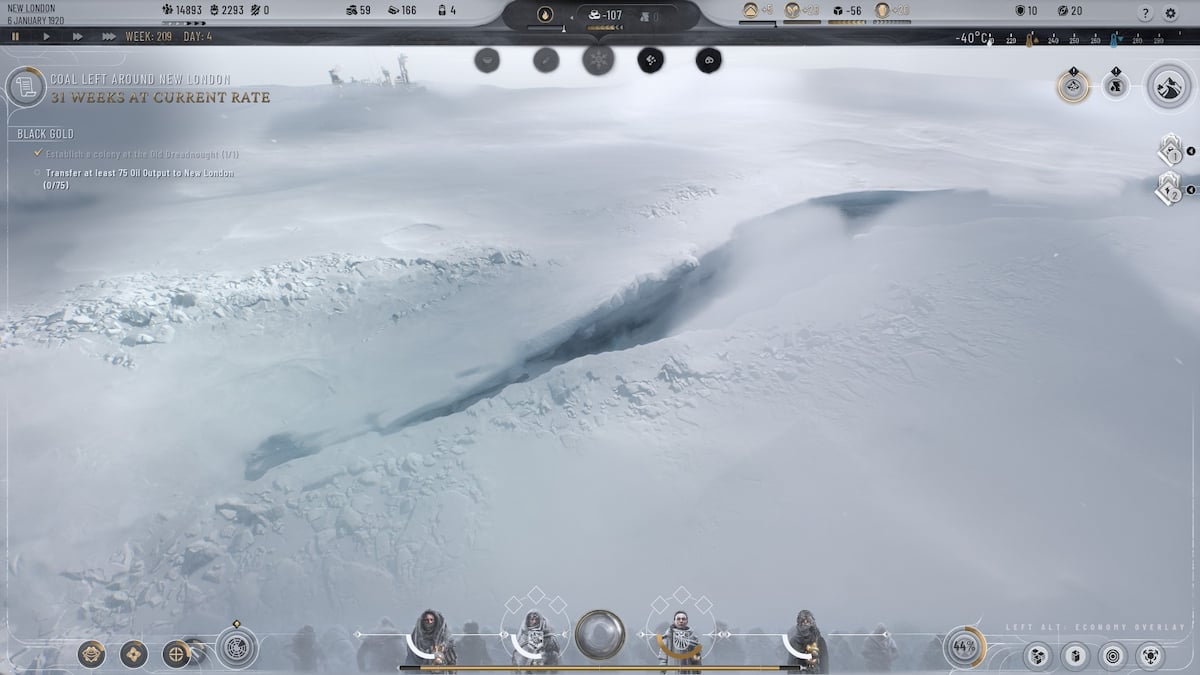
Frostpunk 2 has a shelter mechanic that it does a poor job of explaining. In essence, if you spot a crevice along the ice or a similarly concaved surface, then it’s likely that that’s considered a sheltered area. Sheltered areas are worth their weight in gold and should be built on as soon as possible.
Sheltered areas require less fuel for heating, and are thus less of a resource drain on your economy. They’re the perfect spot to build housing districts on.
Make Sure to Leave an Empty Hex in Between Your Districts
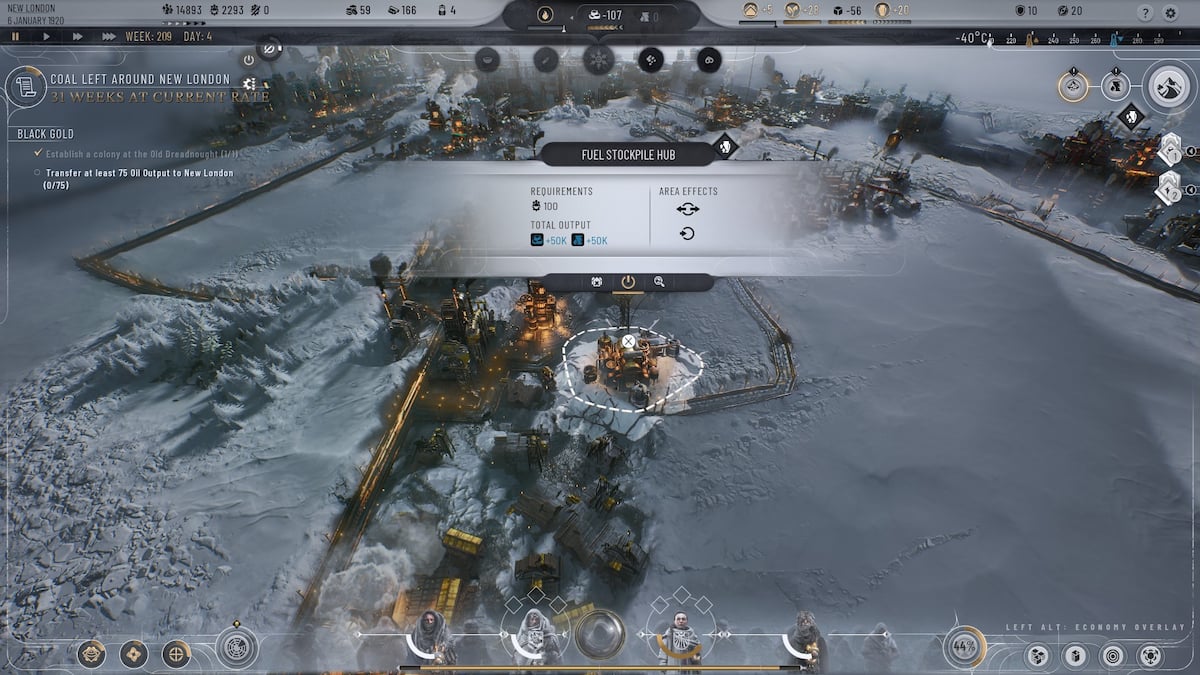
At the beginning of your playthrough, this might seem like a stupid idea and an inefficient use of space. But here’s where foreplanning comes in handy. You see, as you progress through the game you’ll unlock certain buildings that give bonuses to every district around them.
These bonuses can range anywhere from a lowered fuel requirement, higher productivity efficiency, lowered squalor, etc. And because these bonuses compound, if you manage to cover multiple districts with just one building, you’ll effectively be reducing your economic strain by one district’s worth.
Build as Many District Upgrades as You Can
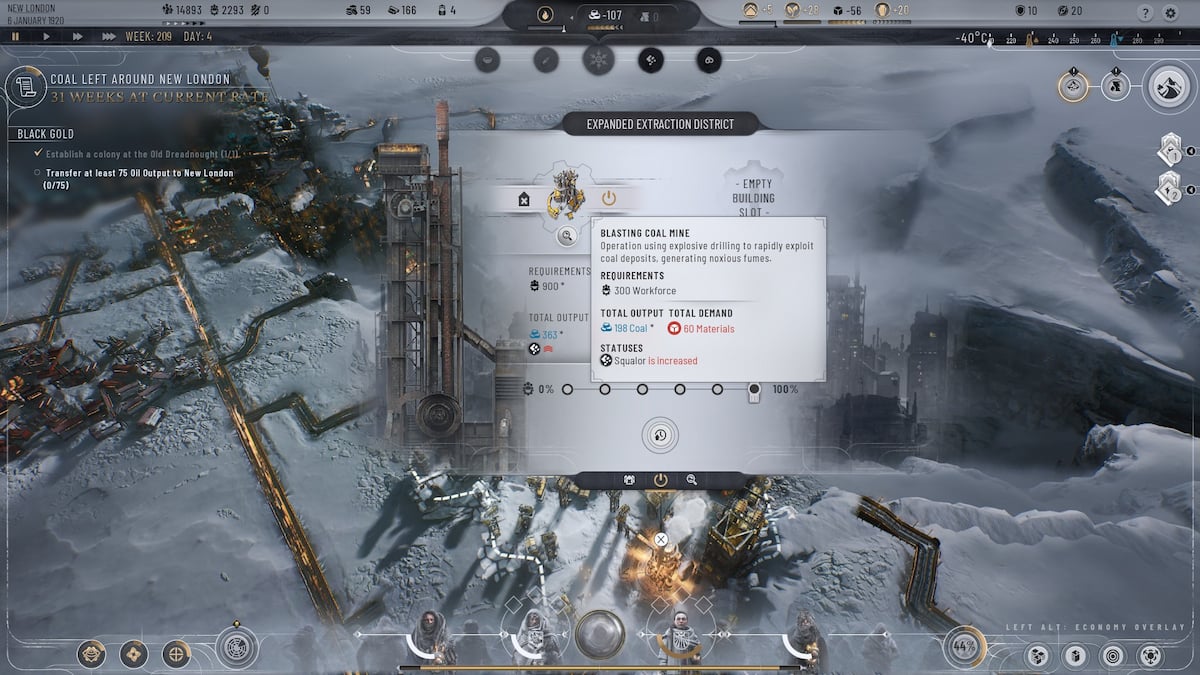
One of the first district upgrades you’ll be introduced to in Frostpunk 2 is the Blasting Coal Mine upgrade. Upon installing it, you’ll most likely realize just how powerful district upgrades can be and why they are such an important asset to have.
Coal and wood are your two main sources for fuel and materials. Thankfully, their distinctive district upgrades (Blasting Coal Mine & Sawmill) can be unlocked within the first 30 minutes of the game.
A side tip in addition to this one is to always leave a few empty hexes on the side when building districts. This will allow you to perform district expansions later on, which will also unlock an extra build slot for you to build district upgrades on.
Don’t Spiderweb Your Tethers
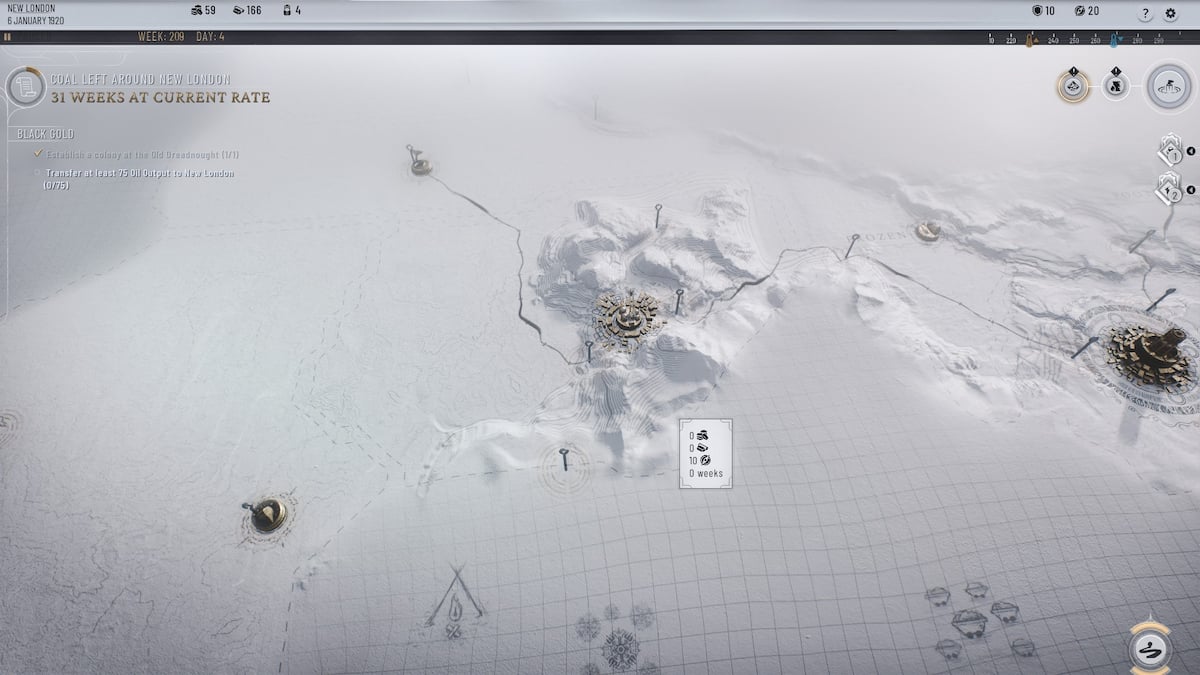
When connecting settlements, avoid making a spider web out of your logistical system. You will not get any benefits from interconnecting your colonies and outposts. The only thing connecting everything will do for you is waste precious resources and manpower.
Instead, try to connect everything as efficiently as possible so that it reaches your capital, New London. Not only will this make it easier for you to follow things on the world map, but it’ll also make your scout crews’ traversal paths a lot easier.
That’s it for this Frostpunk 2 build guide. Make sure to visit our Frostpunk 2 guides hub for other useful guides.



Published: Sep 18, 2024 06:49 am