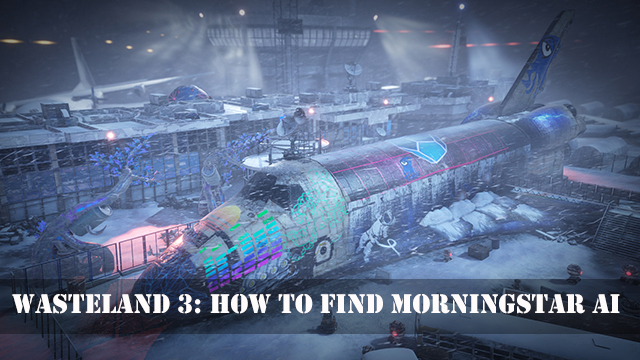
Call to Action, one of the hardest optional missions in Wasteland 3, offers players to acquire a mysterious Morningstar AI vehicle module. This item will provide your vehicle with extra 2 AP and a voice. This guide will help you find and install the Morningstar AI to your vehicle in Wasteland 3.
The Call to Action mission will require you to break through several groups of enemies and solve some puzzles. But don’t worry, we’ve got you covered on all these fronts right down below.
Start Call to Action Mission
Once you complete the Zealot main story mission you will be contacted by the Morningstar AI, who will ask for your help. If you accept the Call to Action mission, a new marker will appear on your map.
It will take you to the northeastern part of Denver to the Union Station. Take your team there and be ready for a series of fights.
Enter the Union Station
The mission starts off as a conversation between your character and Fishlips, the leader of Hard Heads. During the conversation you will be given several choices that can either start a fight or prevent one.
In this case you need to attack Fishlips using the Hard Ass choice, which starts the fight with his thugs completely demoralized. This will be an easy battle all along.
Keep heading north and encounter another bunch of Hard Heads. It doesn’t matter which choices you make during the conversation, as either of them will lead to the battle.
When you come across the train, you can either start another brawl or just move westward to the terminal room. It’s up to you.
When you approach the terminal, you can either unlock the door using Lockpicking skill (if level seven), or you could simply blow up the explosives behind the building and enter the terminal through a hole in the wall.
When you get inside, interact with the computer and choose the first option “Command_UnlockDatabase.”
Solve the Generator Puzzle
After the terminal has been activated return to the room, where you fought the second bunch of Hard Heads. In the western part of the room there is a generator with a few power cables. One of them will be highlighted in red and the rest in yellow.
The best way to solve this puzzle is to simply have your Mechanics skill at level nine and the generator puzzle will be solved automatically.
However, if your Mechanics levels isn’t high enough, then you will need to switch the cables in such a way that yellow cables turn blue and the red one turns green.
This puzzle is unfortunately randomized, so there is no one right solution. If you’re not sure, then level up your Mechanics first.
Once the generator has been solved, go back to the main room and flip the switch at the bar. This will reveal the secret entrance into the basement.
Find the Morningstar AI
Inside the basement you need to interact with a computer and select “We are ready” choice, which will open a massive blast door for you.
Go the very end of the hall past the blast door and enter the garage with the Morningstar AI vehicle. During the conversation with Morningstar you need to make the following choices in order to acquire the module:
- “We’d like to help you, but we have some questions first.”
- “Is your consciousness an intrinsic part of your body, or could it be transferred?”
- “All right, let’s talk about what you want us to do for you.”
- “Actually, we’d like to put you to work. Pull your brain out of this vehicle and put you in ours.”
- “If you want to serve the cause Ronal Raegan believed the most, then help us.”
- “Excellent! Then let’s get you ready for transfer to our vehicle. How do we do that?”
- “Lift Morningstar’s hood and follow his instructions for removing him from the vehicle.”
- “Find and disable Morningstar’s pain feedback module.”
- “Finish removing Morningstar from the vehicle.”
If you’ve made all the right choices, Morningstar AI module will be successfully transferred to your vehicle, giving you extra 2 AP and a voice.
That’s all you need to know on how to find Morningstar AI in Wasteland 3. If you are looking for best builds guide, then check out this page. For more Wasteland 3 guides, please visit the game’s hub page.


Published: Sep 18, 2020 09:12 am