The Legend of Zelda: Tears of the Kingdom Tank is a custom-made vehicle tailored for combat. You’ll drive it around rough terrain, all while blasting foes to smithereens. Here’s our guide to help you build a TotK Tank.
How to Build a Tank in Zelda: Tears of the Kingdom
I’ve created a few sections for our Zelda: Tears of the Kingdom Tank guide for each major part or component that you need to make. Likewise, I suggest trying to dupe Zonai Devices for extra materials.
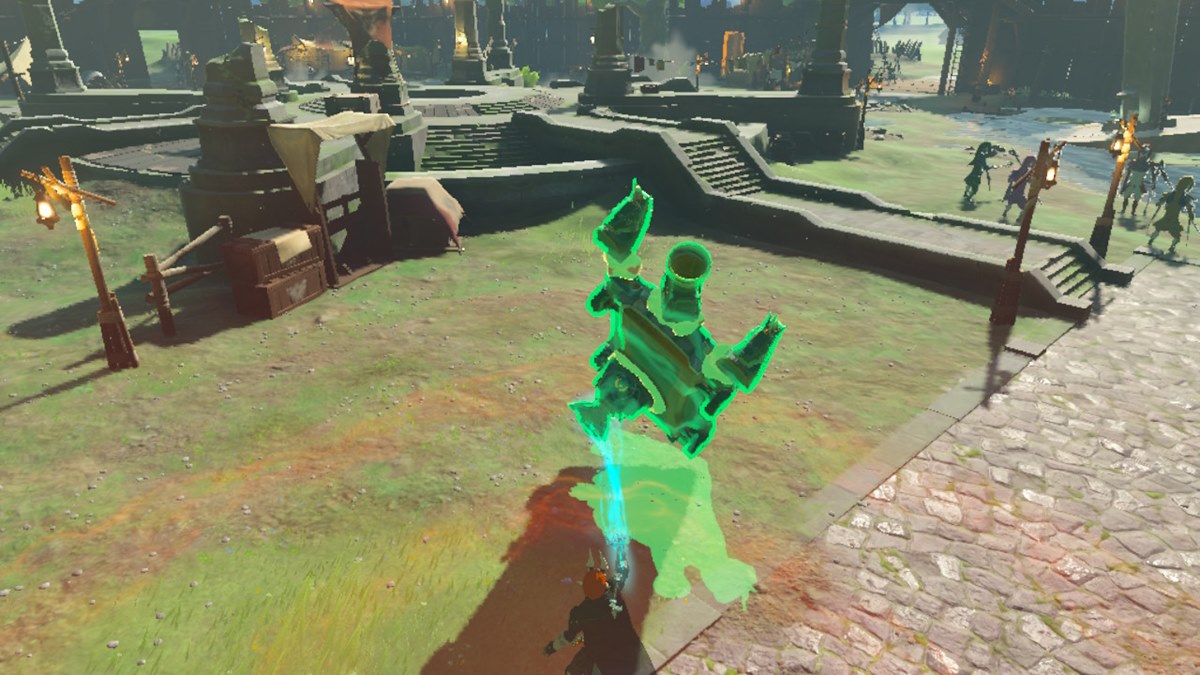
How to Make the Cannon or Weapons Array
Here are the items I used:
- 1x Cart
- 1x Construct Head
- 1x Cannon
- 2x Beam Emitters
And here’s what I did:
- Place the Construct Head on the ground at an upright position. Make sure the rounded portion is facing up.
- Attach the Cart to the rounded section.
- You can then attach the Cannon and Beam Emitters along one edge of the Cart.
How to Make the Wheels or Tracks
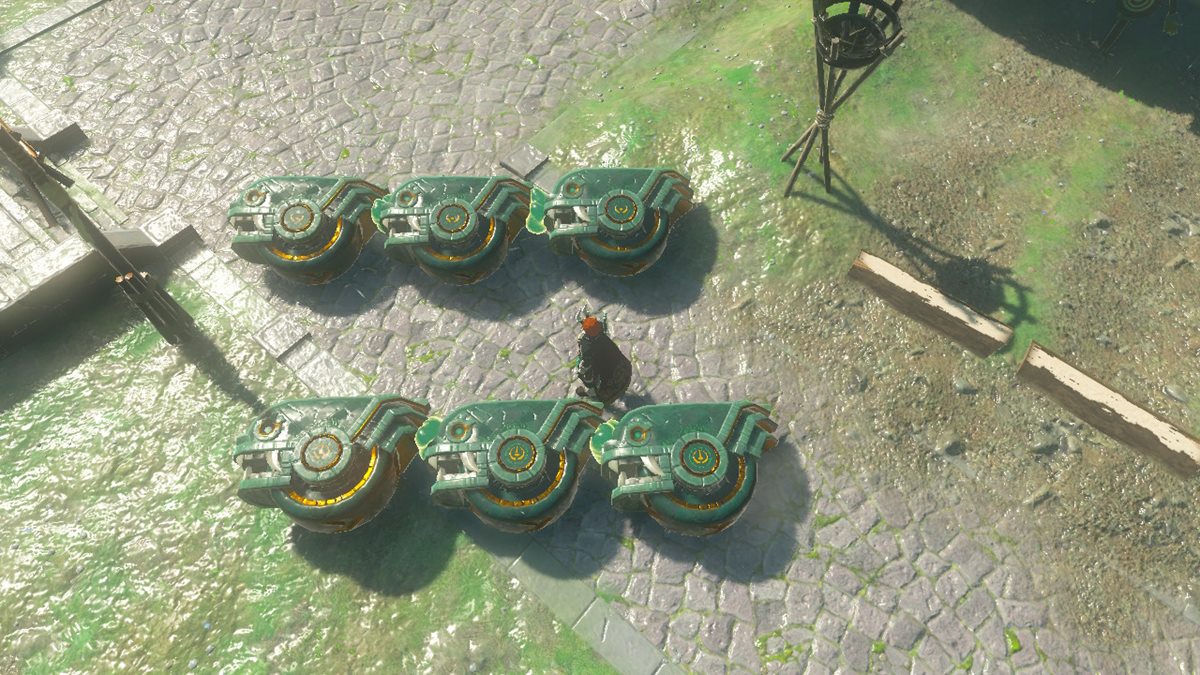
These are the materials:
- Option 1: 6x Small Wheels (three per side)
- Option 2: 4x Big Wheels (two per side)
And here’s what you want to do:
- If you’re using Small Wheels, the idea is to attach three of them end-to-end. It’s a bit like forming a straight line. Likewise, watch out for crooked or elevated angles. And, naturally, be sure that they’re facing the same direction.
- If you’re using Big Wheels, you don’t want to attach them together. We’ll just explain what needs to happen in a short while.
How to Make the Tank Body or Chassis
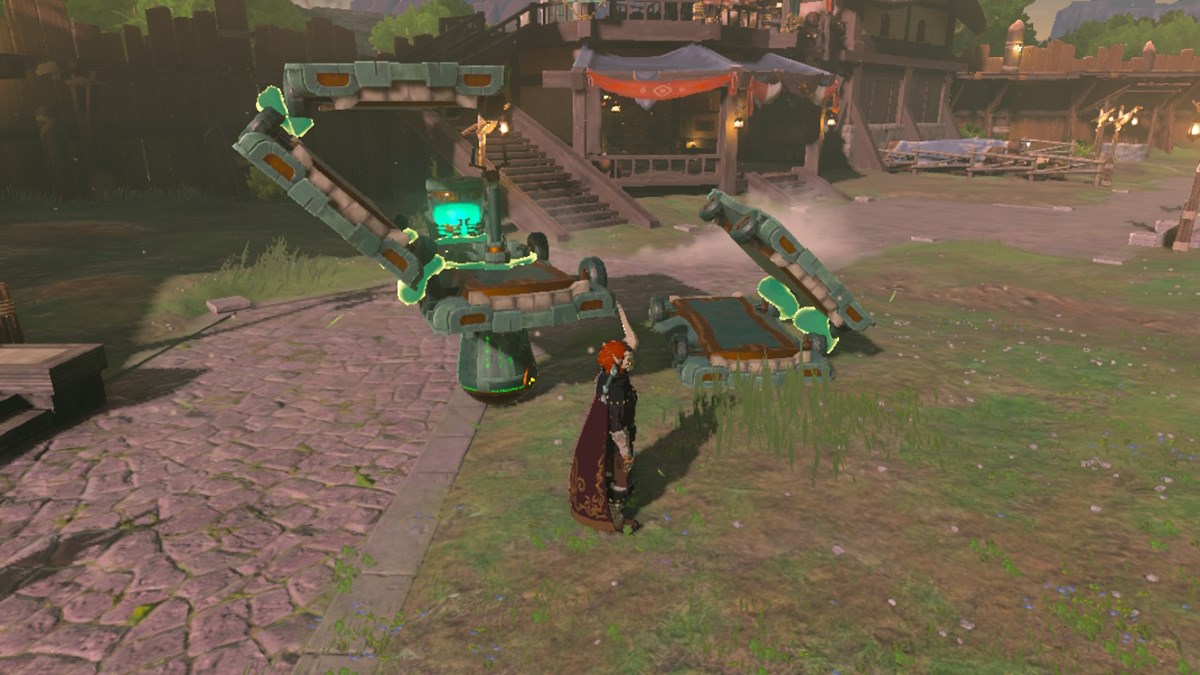
We’re almost there. Here are the things you need for the Zelda: Tears of the Kingdom Tank body or chassis:
- 1x Stabilizer
- 1x Steering Stick
- 1x Big Battery
- 5x Carts
And here are the steps to make this contraption:
- Place the Stabilizer on the ground and activate it so it stands upright. We’re going to need this to prevent the chassis from tilting or falling sideways due to the weight.
- Attach one Cart on top of the Stabilizer.
- Place the Steering Stick in the middle of the Cart.
- You can add the Big Battery later, preferably at the back portion of the Cart.
- For the sides, you’ll want to attach two Carts together, forming a v-shape. Once you’ve got that, make another one.
- Attach both v-shaped angular parts to the side of the main chassis. This will form something that’s like an enclosure for the vehicle (i.e., its sides and the roof).
Finalizing the Design and Driving Your TotK Zonai Tank
Now, we’re ready to put the finishing touches on our Zelda: Tears of the Kingdom Tank:
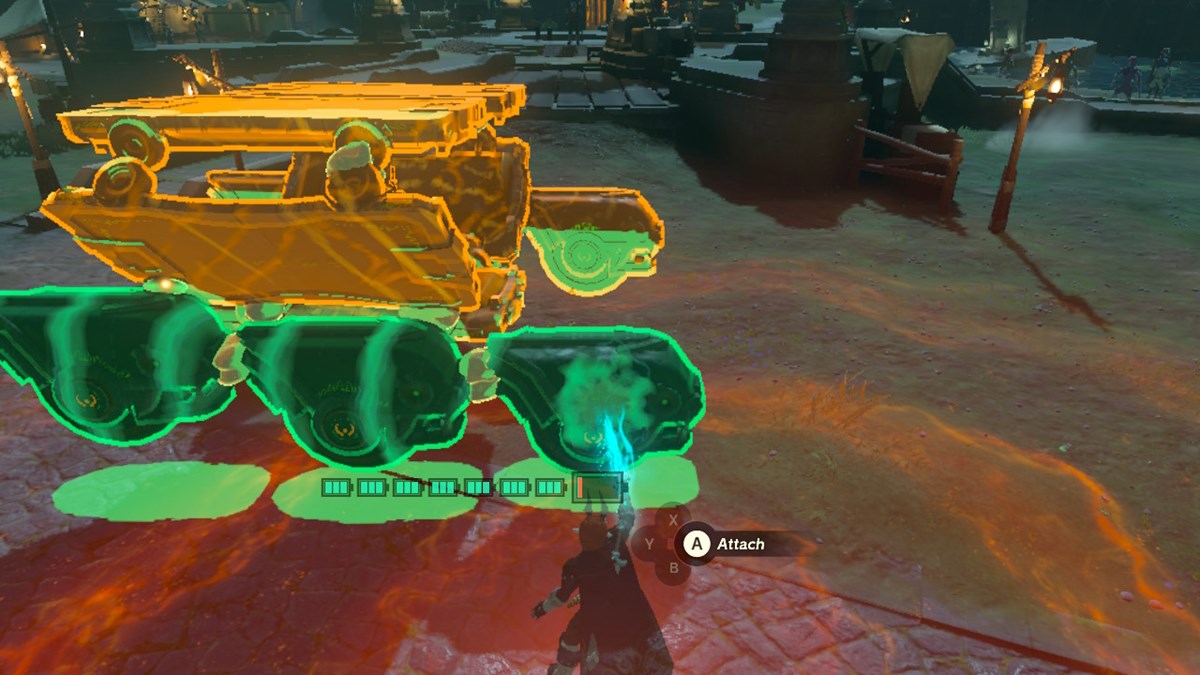
- Once you’re done with the above steps, you can attach the wheels to each side of the vehicle.
- If you’re using Small Wheels, just attach them as they are since they already form a makeshift line.
- But, if you’re using Big Wheels, you’ll have to attach them individually. Make sure they’re properly aligned as well.
- Remove the Stabilizer. You won’t need it anymore since everything that would’ve caused the vehicle to tilt is already properly attached.
- Attach the weapons array to one of the “roof” sections.
- Lastly, don’t forget to place a Big Battery at the back or on the roof.
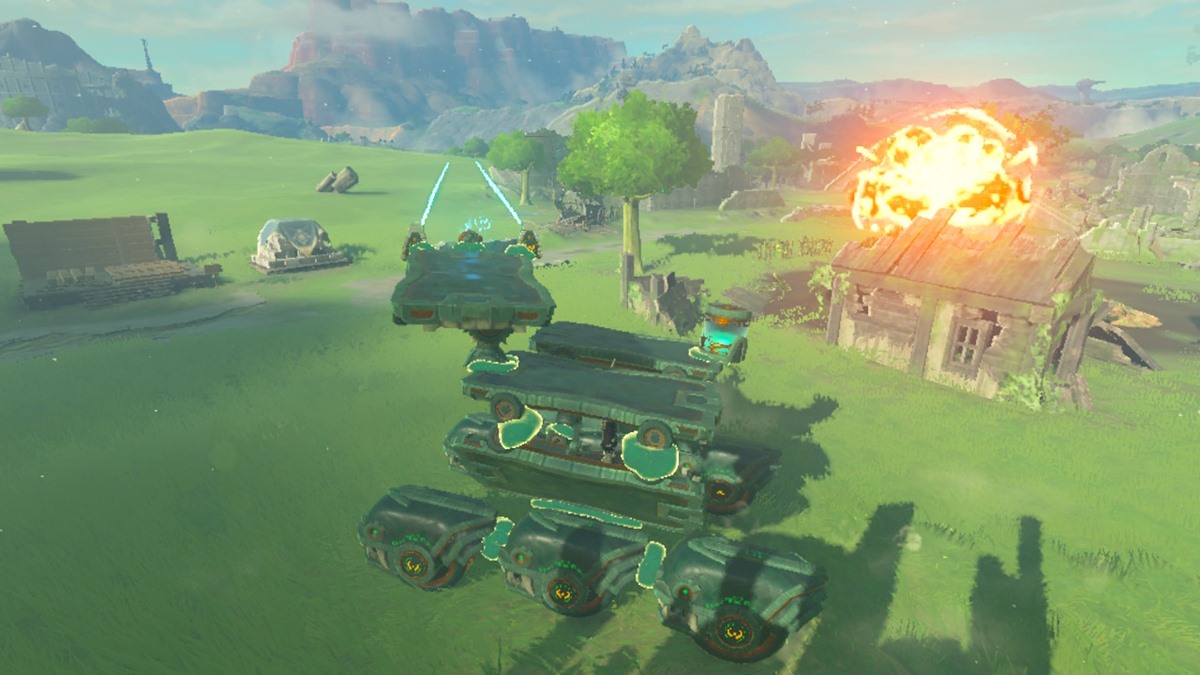
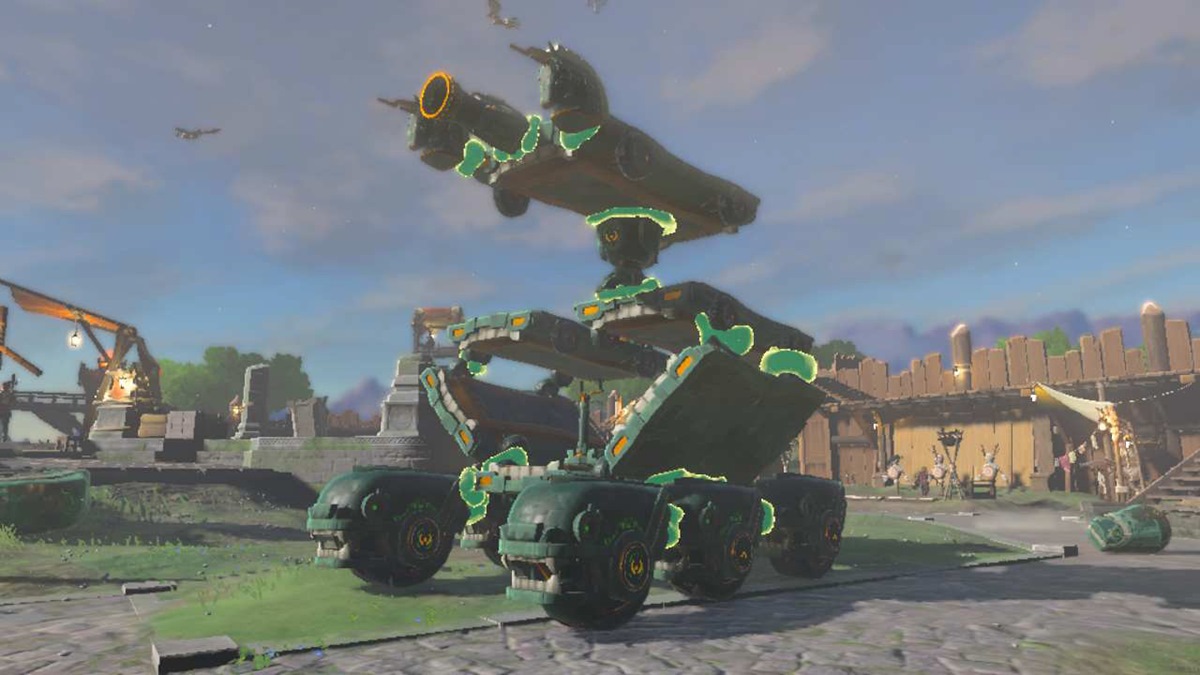
Your Zonai Tank is now ready. You can drive it around and watch as it mows down hostiles in the area. If ever you encounter issues, such as elevation, you can slightly lower the positioning or angle of the weapons array.
Now you know how to build a TotK Zonai Tank. This isn’t the only wild contraption that you can make. There are others, such as the Hoverbike, Bomber Plane and Laser Drone. Likewise, be sure to visit our Zelda: TotK guides hub for more tips, strategies, and walkthroughs.





Published: Jun 1, 2023 02:09 pm